
An Introduction to Light Painting
by Olympus Trailblazer Jamie MacDonald
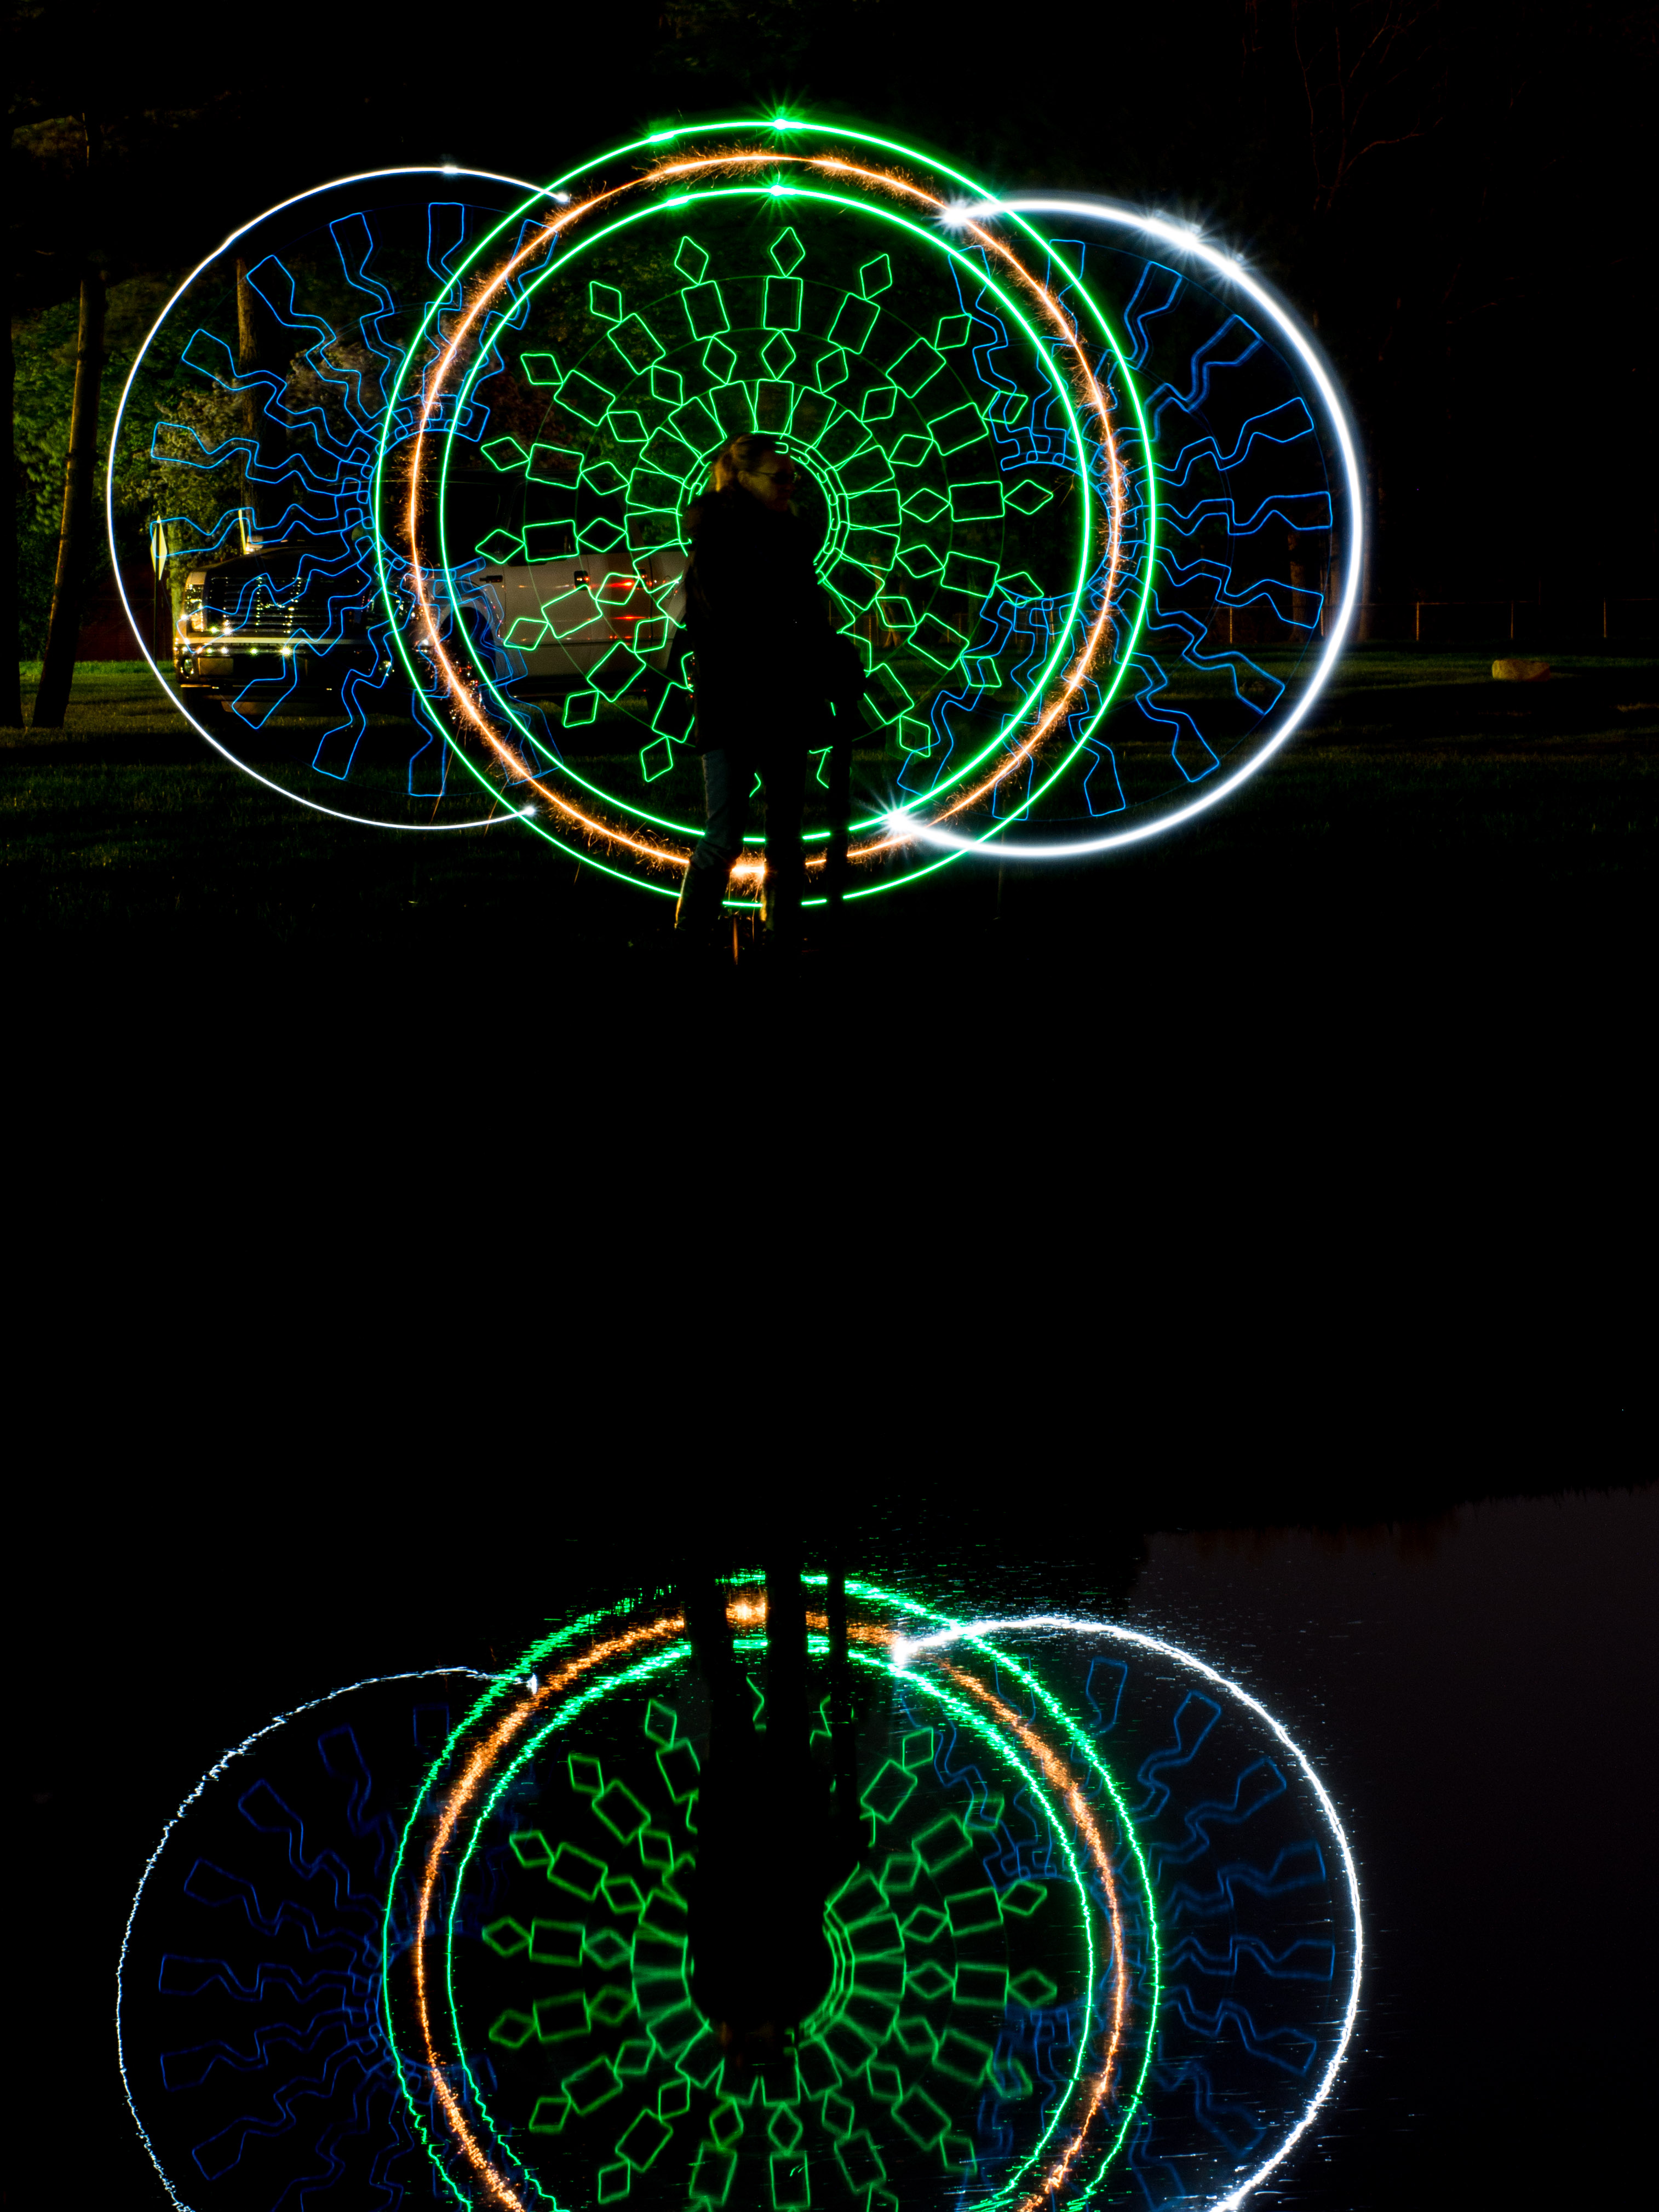
As photographers, we know that our craft is all about light. We chase the golden hours of morning and evening, and the blue hour of twilight, and we spend hours in the studio with strobes and Speedlights. But there is another genre of photography you can explore where light isn’t used only to enhance the scene; rather, it BECOMES the scene.
This is what happens when light becomes the scene:
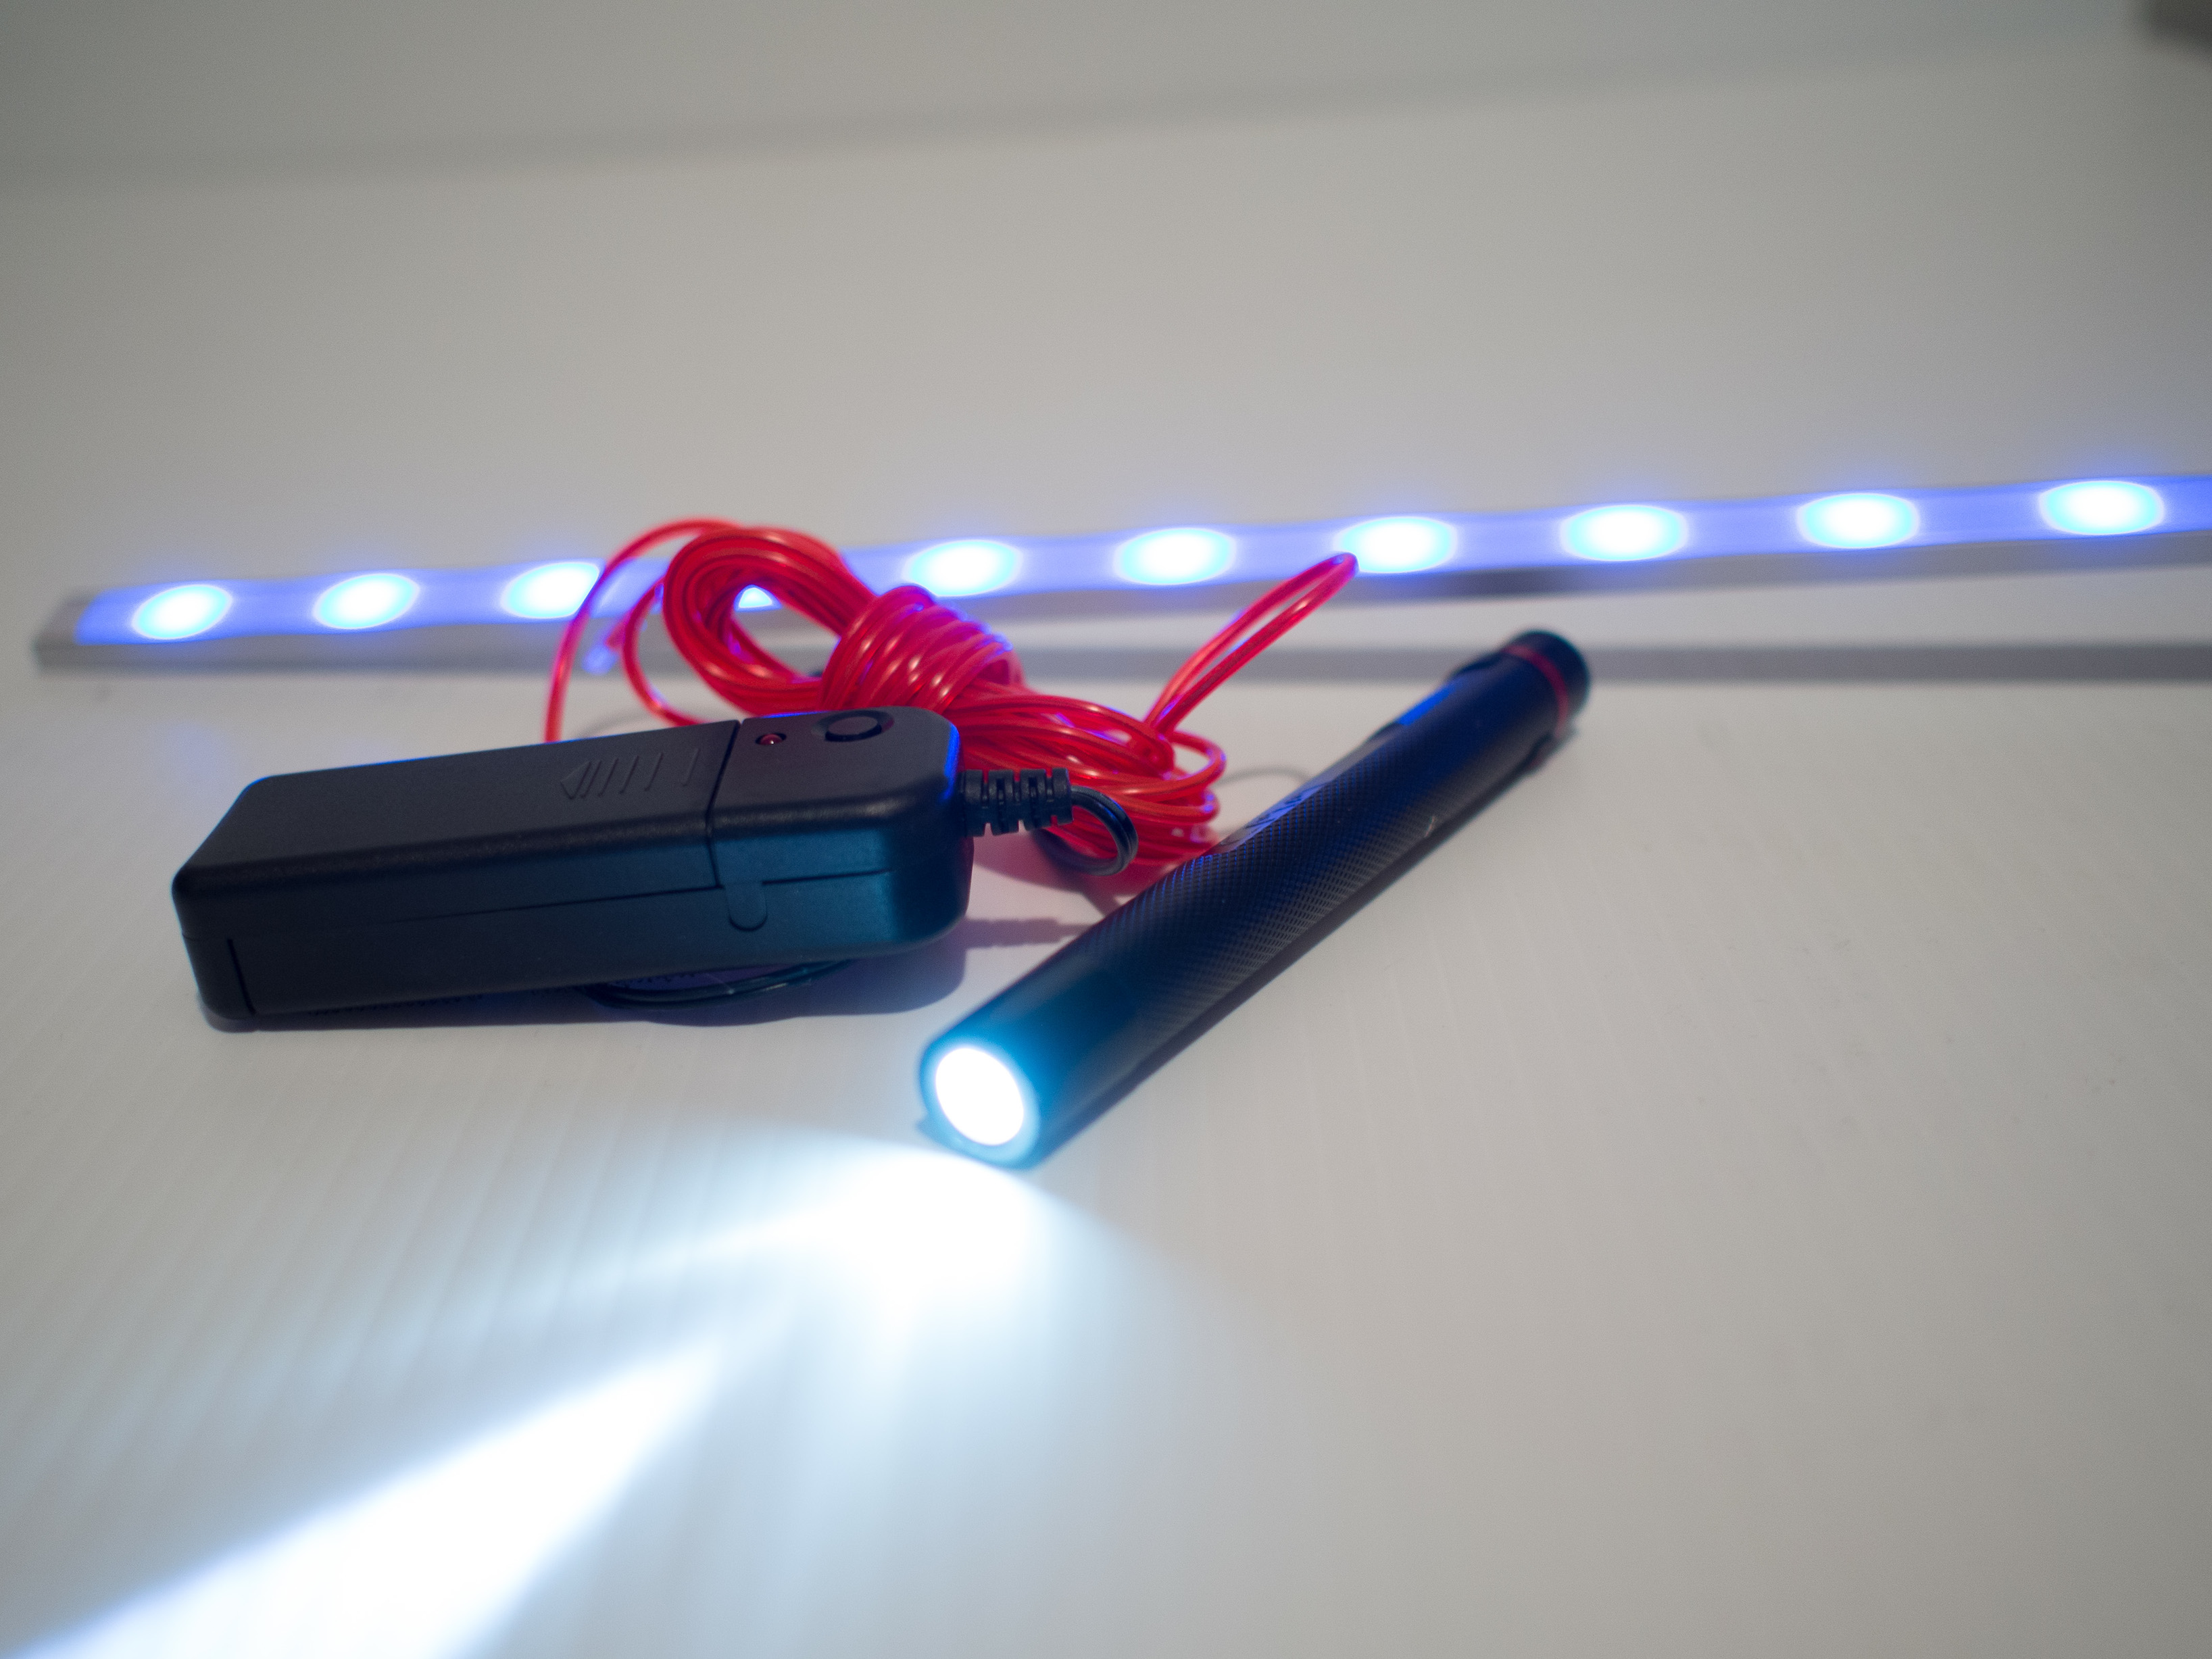
What does it take to start light painting? Nothing more than your camera, a source of light and your imagination. Here is a basic list of tools to get you started in light painting:
• A camera capable of shooting in manual mode. If you’re an extreme beginner, don’t worry – shooting in manual is easy for this!
• A tripod or some other way to stabilize your camera during the exposure.
• A cable release or remote for your camera. If you do NOT have one, don’t worry! I explain a technique below for shooting without one!
• A light source. What kind? Pretty much anything that produces light can be used! Some examples of things I’ve used are LED flashlights, an iPhone, sparklers, glow sticks and bracelets, and one of my favorites is a set of battery-powered holiday lights!
Now that we have the gear ready, let’s go shoot!
Step 1: The first thing we need to do is find a good location, preferably away from any other light sources. The reason we prefer a location without too much ambient light is that, during our long exposure, this ambient light may overexpose our scene. If possible, I also suggest using a location that will add interest to your image.
Step 2: Let’s start by putting our camera on the tripod and setting the camera to manual mode. I will give you some settings to start with and offer some suggestions on adjustments you can make if need be. You will also need to set your camera to manual focus. This is important because autofocus in the dark just isn’t going to cut it.
Step 3: With the camera in manual mode, we can set the ISO to 100–200, aperture to f/8, and you can control your exposure time by using your camera’s bulb mode. If your camera doesn’t have a bulb mode, I suggest setting the exposure to 30 or 60 seconds and using the camera’s timer function to trigger the shutter. The length of the exposure will depend on how much time is needed to perform the painting. Some images I’ve created took 15 minutes, others only 30 seconds or so.
Step 4: Another thing we need to do is make sure we turn off any type of anti-vibration system your camera or lens may have. If left on when mounted to a tripod, it can produce some not-so-sharp results.
Step 5: Finally, the last thing we have to do is focus our camera on the location where the light painting will take place. The easiest way to do this is to have a friend stand in the location you’ll be photographing and have them shine a flashlight on themselves. When they are illuminated, you can then easily fine-tune your focus on them.
Step 6: Get the person who is going to be doing the light painting out in position with their tools and tell them to start moving on a count of three, waving around their flashlight, LED light or whatever you are using. One…Two…THREE! Now trigger your shutter and let the long exposure begin.
Step 7: When the shutter closes, the light painter can stop dancing around and come see what was created. If you are using a cable release or remote, you can end the exposure at any time. But what if you’re alone? Or what if you don’t have a remote or cable release? No problem! Trigger the shutter and run out into position to paint. I have used this technique many times myself with great, if not tiring, results.
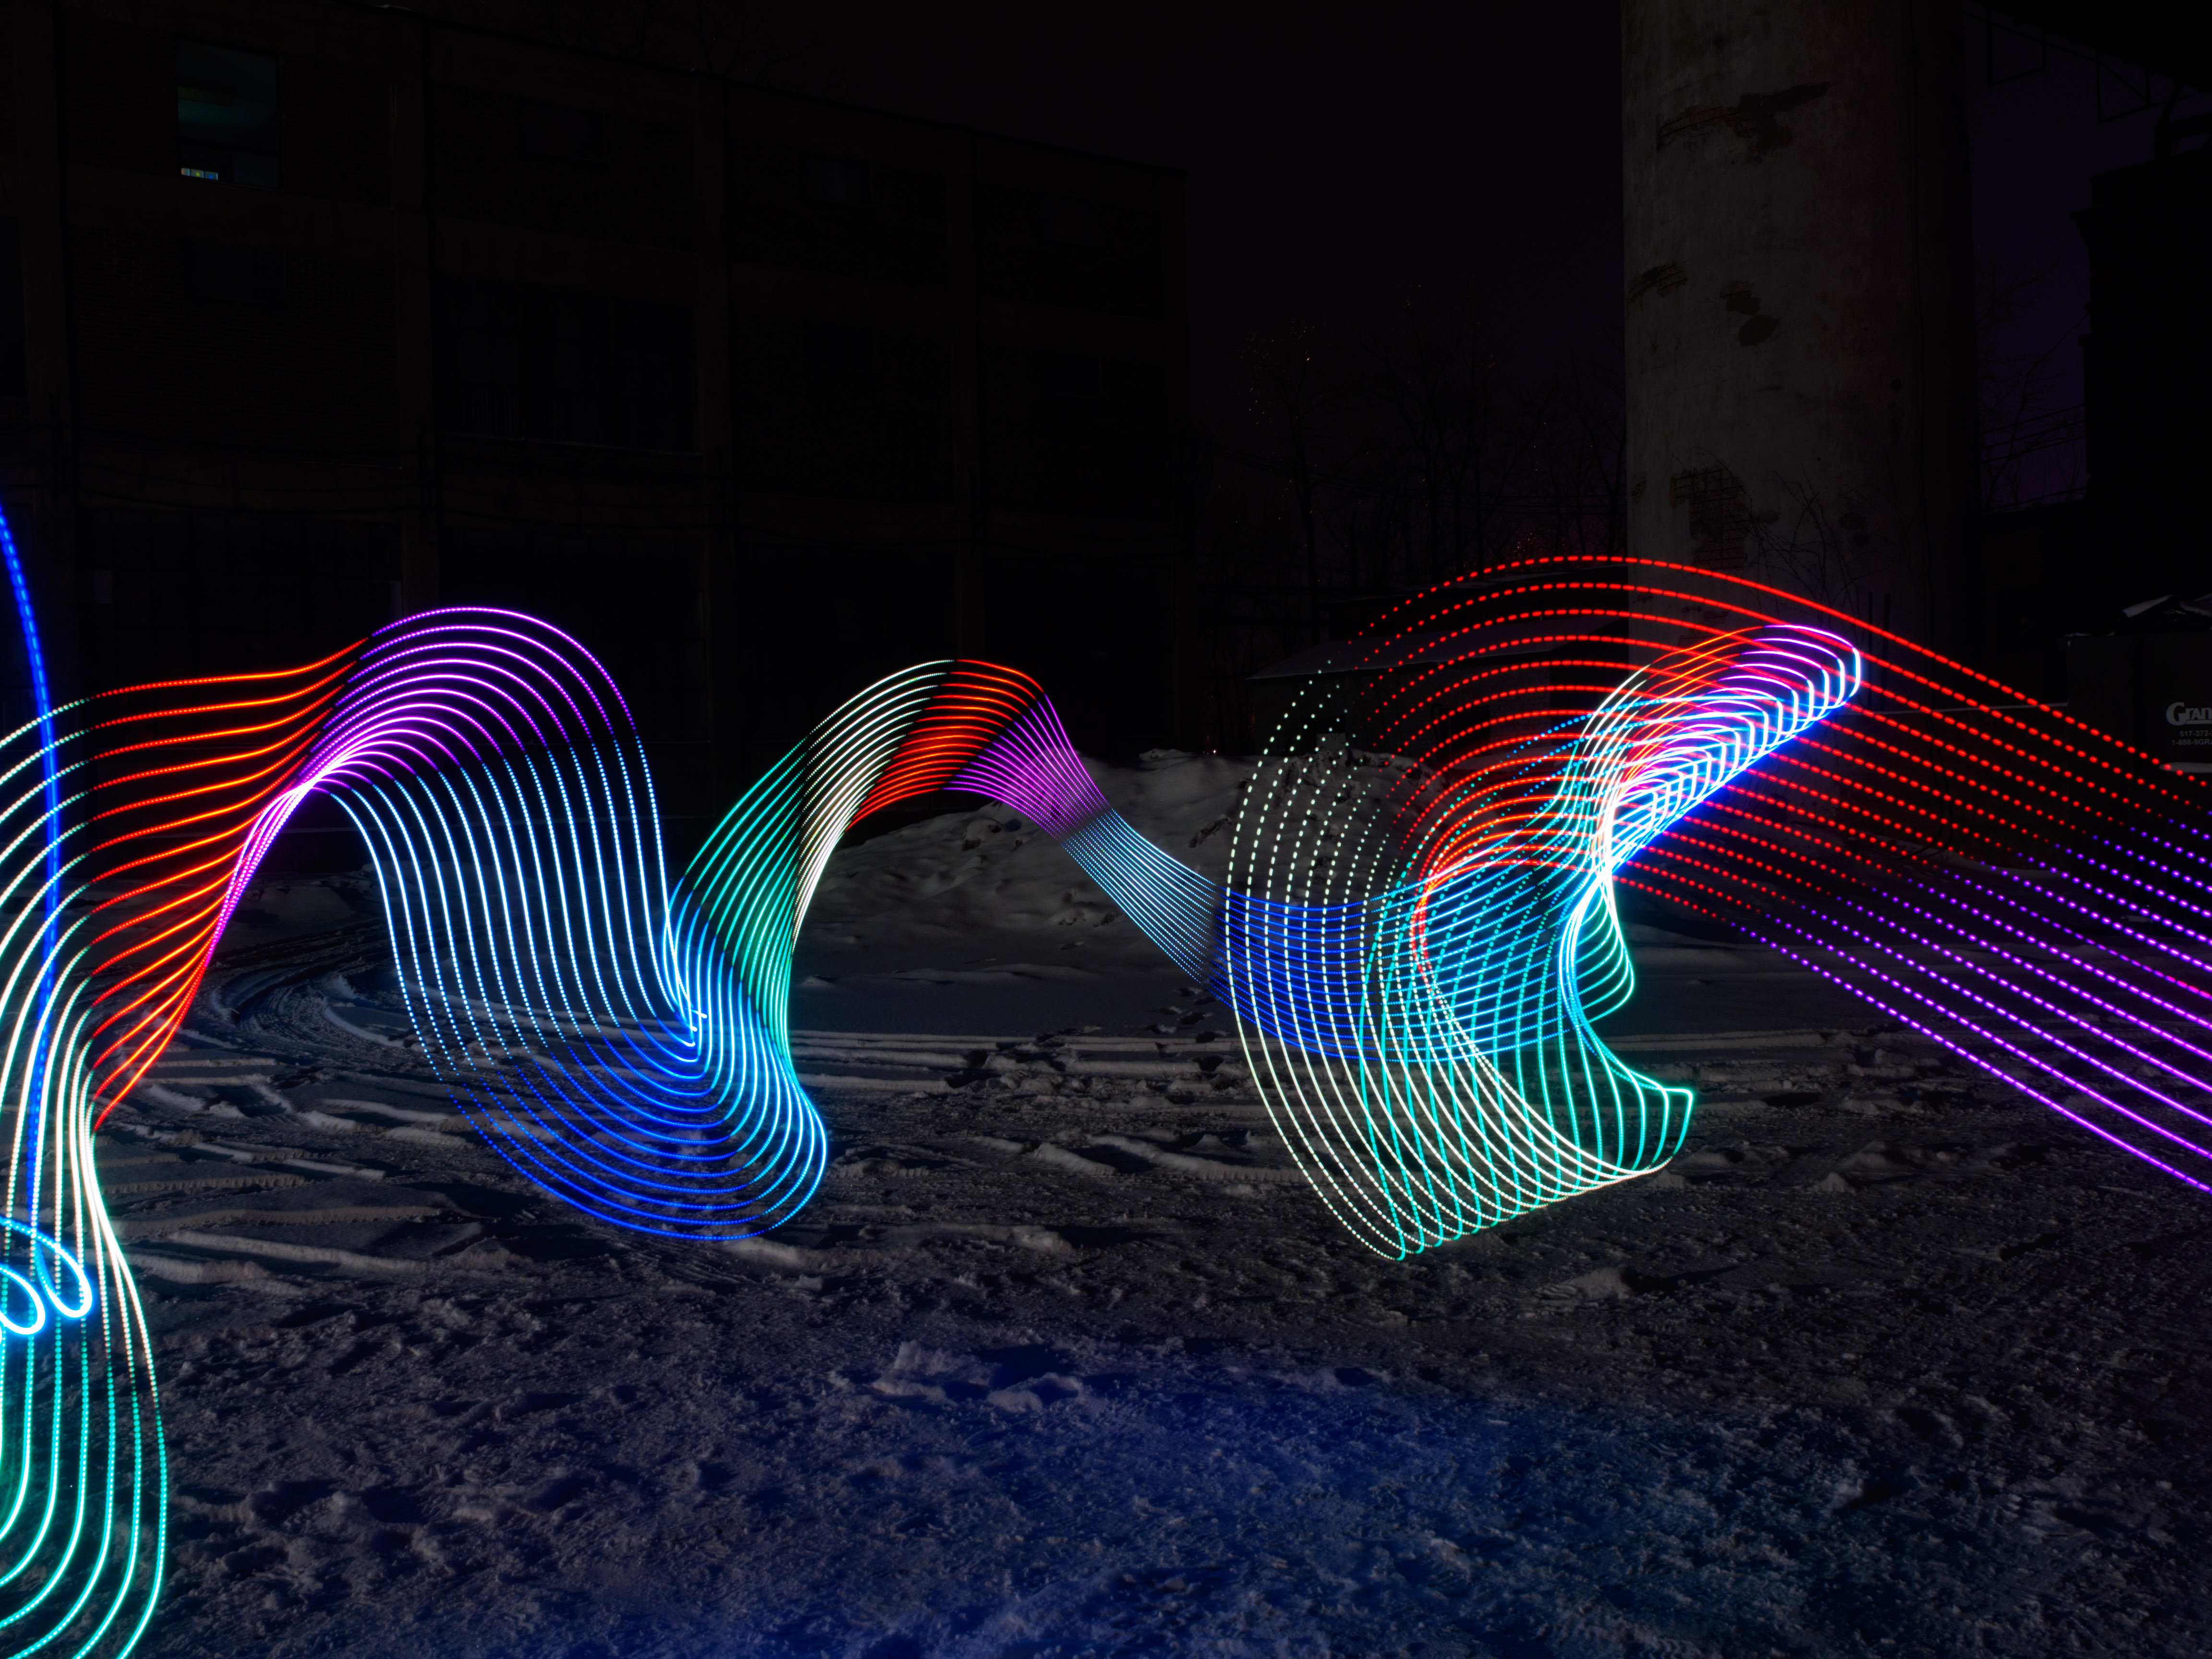
Now if all that waving the lights around seems a little random and abstract, it is. But when you see the results of the random movements, you may find that they are exactly what you wanted. If random isn’t what you’re after and you’d prefer a more controlled use of light painting, an easy way to start is by using a flashlight to “paint” an object during your long exposure.
The best advice I can give you is to pass on that given to me by the gentleman who got me started in light painting. He told me the best thing I could do once I had the basic settings figured out was to ask myself, “What if?” Almost all of my light-painting images started out with me asking myself those very words. So go out into the night, have fun, and, most importantly, ask yourself, “What if?”
Jamie MacDonald

I’ve done this for years on darkened midways at state fairs, aiming at the colorfu lneon and little bulb lights on the rides, with a long exposure and zooming the camera around and around. So the camera is being used as the brush in this case. Ctyl
Thank you all for the kind words and for reading this. It was certainly an honor to have this shared by Mr. Huff, and equally as big an honor to get such positive feedback.
Take care and get out there and shoot!
Jamie
Very nice Jamie! And thanks for the insight on how you do the light painting. Amazing results.
Cheers,
Bob
Jamie: Great article, great tips … and some wonderful, inspiring work. Thanks for taking the time to produce this!
Great article! I go camping every year with some buddies and we love doing some light painting after some drinks!