
Drone Photography Starter Basics: How to Get Started
By Liz Pekler
(From Steve: As I stated a while ago, I will start bringing small drone reviews here. Not meant to compete with the mega Drone reviews, mine will be a bit different. I am in the process of preparing a review of the Phantom 3 and 4 drones, which will appear in one article soon. The Phantom 4 is absolutely incredible and is a drone anyone can fly, it is in fact much easier than the $200-$500 drones to fly and almost flies itself and the footage it captures is beyond stunning. For now enjoy this small beginner drone primer article by Liz Pekler)
In the much-talked about movie, “Eye in the Sky” starring Helen Mirren and Alan Rickman, drones are used both as part of the theme of the movie and as a tool to capture some of its scenes. Aside from the film industry, many others have also used the drone for aerial photography because it provides shots from radically different angles and perspectives.
Flying the drone has a learning curve, but once you get past that, it can open doors for you in the world of aerial photography and other niches. Want to give it a try? I have compiled a few basics that you must remember before taking your drone out for a photo shoot:
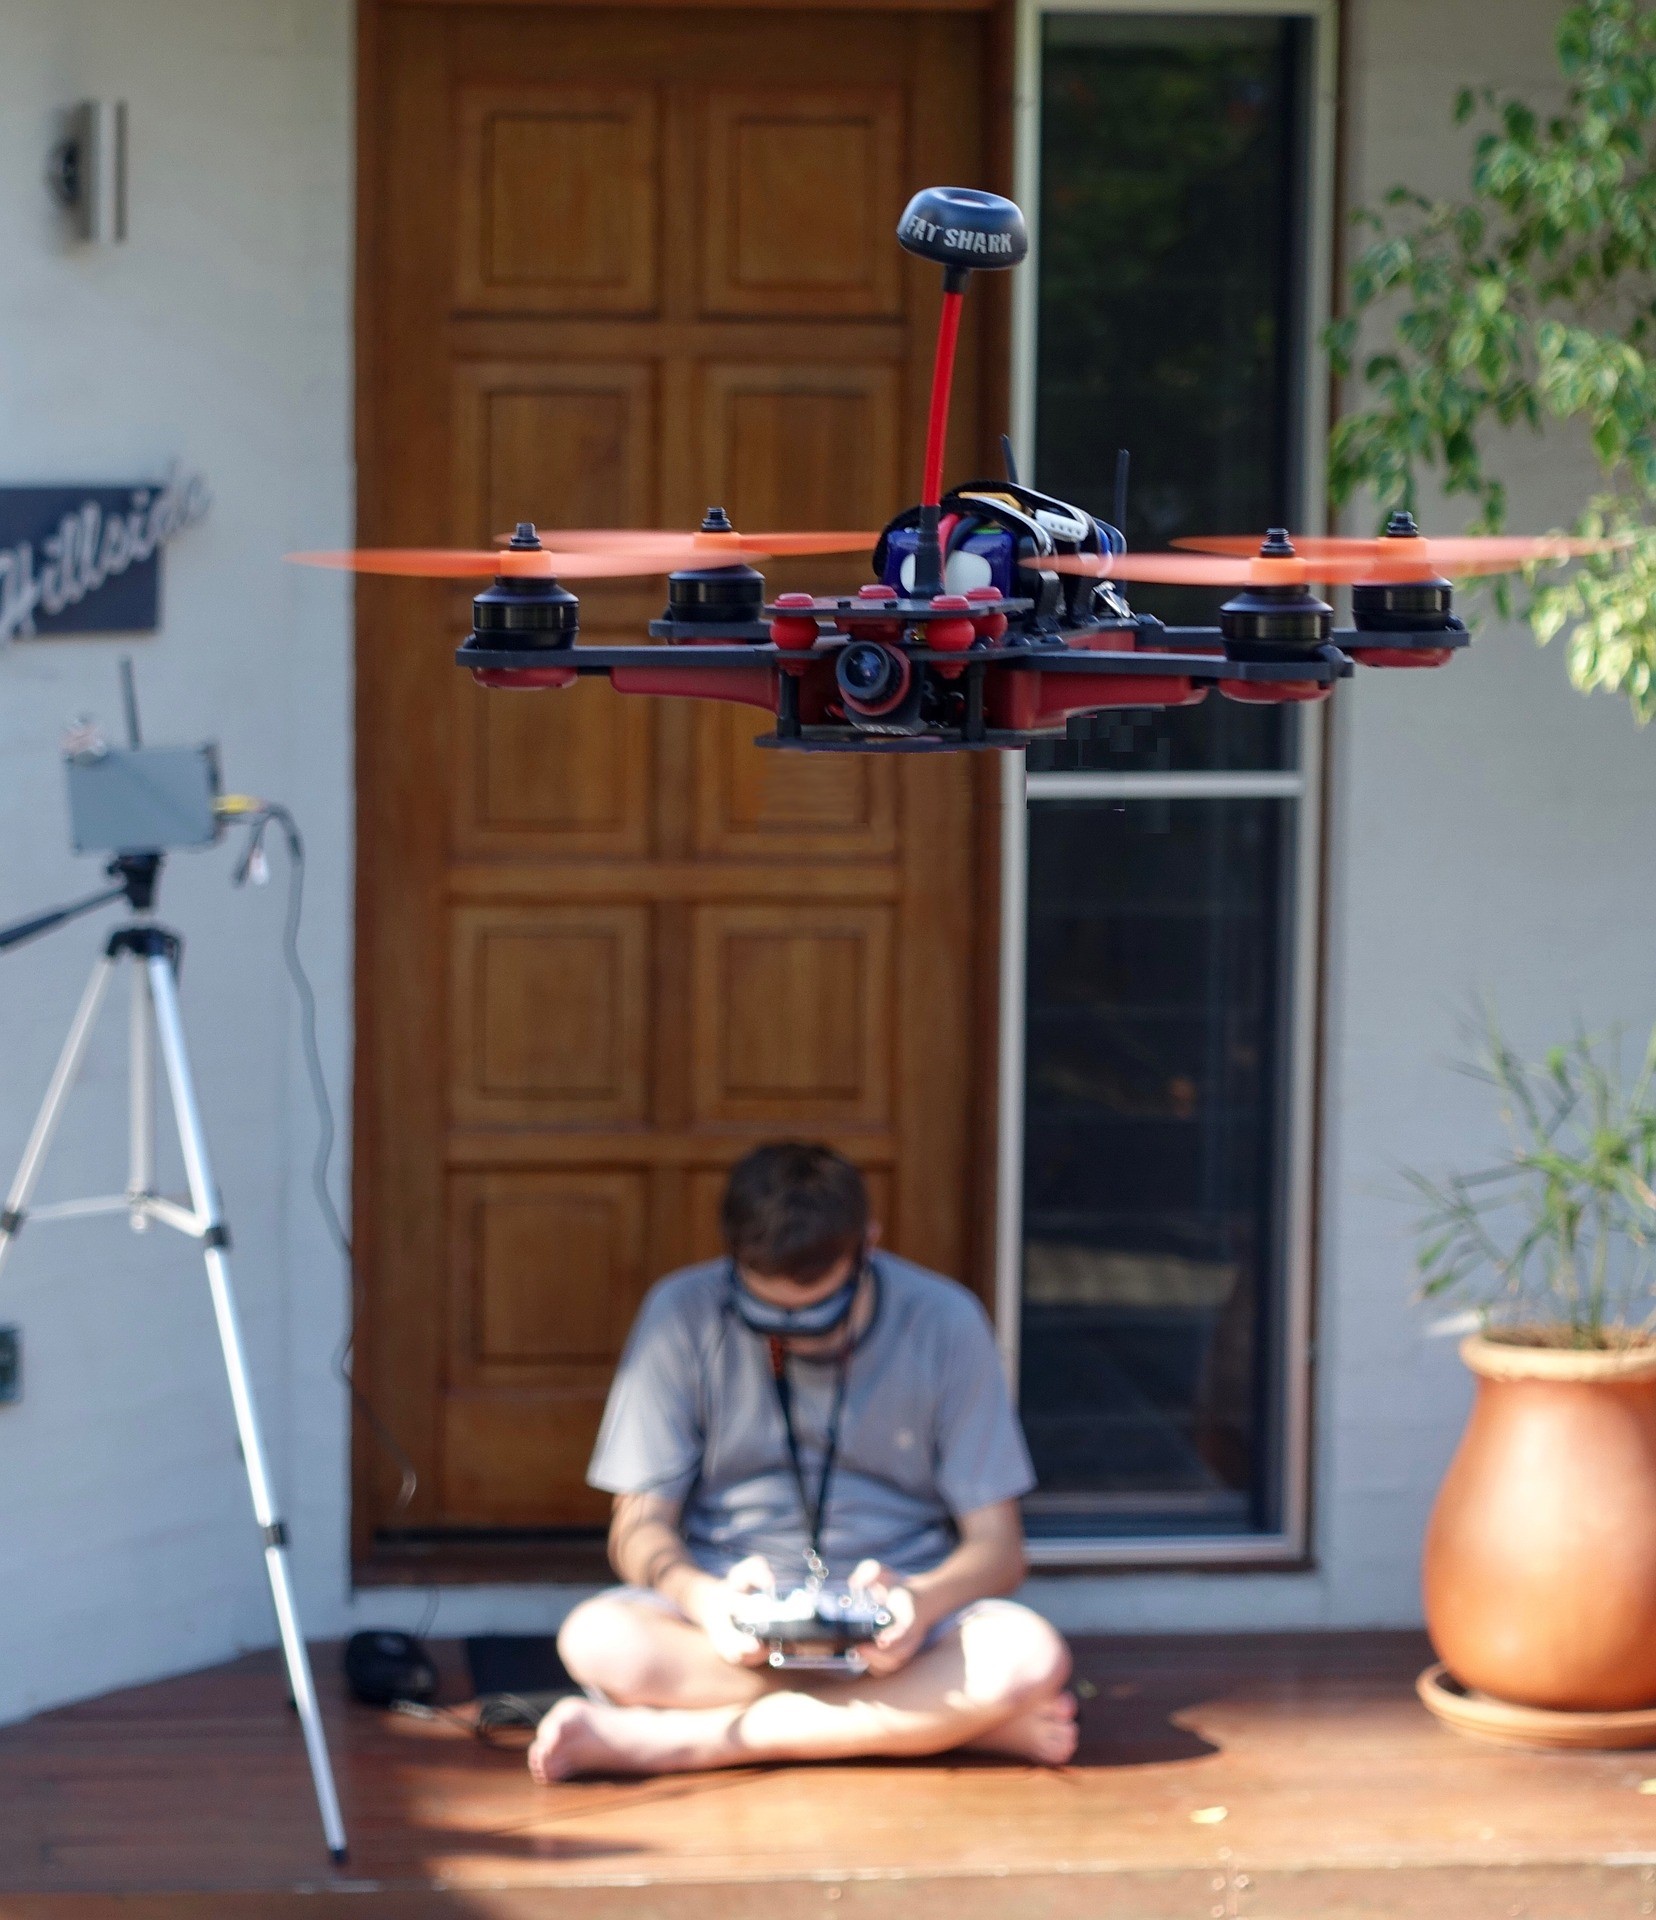
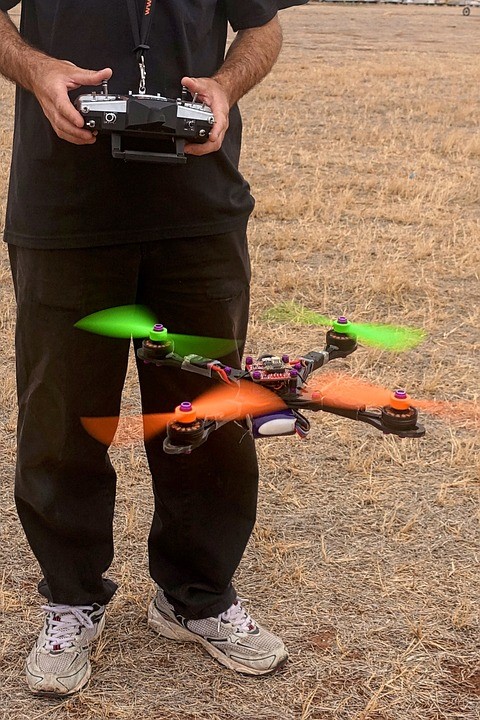
• Invest in a drone and camera setup that work for you.

Study your options well. There are drones with built-in cameras while others need a separate camera. Check to see which setup will be more comfortable for you and which has controls that you’ll be more inclined to learn and use. Flying a drone in itself can be tricky, much more using it to take photos. So make sure that the drone and camera setup you choose will be easy for you to navigate, regardless of your skill level.
Know the maximum speed, altitude, attitude (angle), and weather conditions that the drone can take and see if this is suitable for the type of shot you want to take. Knowing the capabilities and limitations of your setup will not only aid you in maximizing its use but also keep it safe during use.
• Learn from an expert.
If you can afford it, consider taking one-on-one lessons with an expert in flying drones. Or better yet, learn from someone who specializes in drone photography. There are things learned through experience (which aren’t in instruction manuals and guidebooks) that an expert flier can teach you.
Another option is to get your drone from a shop where the staff are highly-trained to educate you about your purchase and give you constant technical support. This will minimize the risks and accidents that comes with using your device for the first time.
• Brush up on the laws regarding flying drones in your shoot location.
Drones can be used to spy on or attack people. If it goes out of control, it can also cause damage and disturbance in airports and crowded areas. This is why certain laws and statutes exist regarding drone use. But remember, each state has different laws protecting people and establishments from drones because, as Sen. Dianne Feinstein said, “reckless drone use varies significantly in different states and even within a state, which is why we need to maintain the ability for states to set their own standards of drone operation.” So before flying your drone to take pictures, make sure that you have already educated yourself regarding the laws of using such device in your shoot location.
Also, owners and operators are now required to register their drones. Make sure to register your drone with the Federal Aviation Authority or else be prepared to serve up to 3 years in jail or pay up to $250,000 as penalty once you get caught.
• Plan your shots.
As with any type of shooting, planning is crucial in taking good aerial photos with a drone. If you’re taking action shots, plot out the points where you want your shoot to begin and end. If you’re shooting still photos, plan where you will launch your drone to achieve your desired effect and perspective. You may also take your drone out for test shots of the many angles you can explore just by manipulating the position of your camera and the drone.
Below is a quick rundown of the controls that you can experiment with in taking those first few shots with your drone:
• Roll or aileron – enables you to tilt the drone left or right
• Pitch or elevator – enables you to tilt the drone forward and backward
• Yaw or rudder – enables you to rotate the drone
• Throttle – enables you to control the drone’s up and down axis
• Take note of the following dos and don’ts.
Dos
• Use a shorter camera lens to give your camera better stability.
• Use a camera with a fast shutter speed to ensure sharp photos. Experts recommend around 1/500th to 1/750th of a second on a 100mm lens while others recommend 1/500 at 100 mm or 1/1,000 second on 200mm.
• Use the high-contrast setting of your camera to reduce haze during when shooting up in the air.
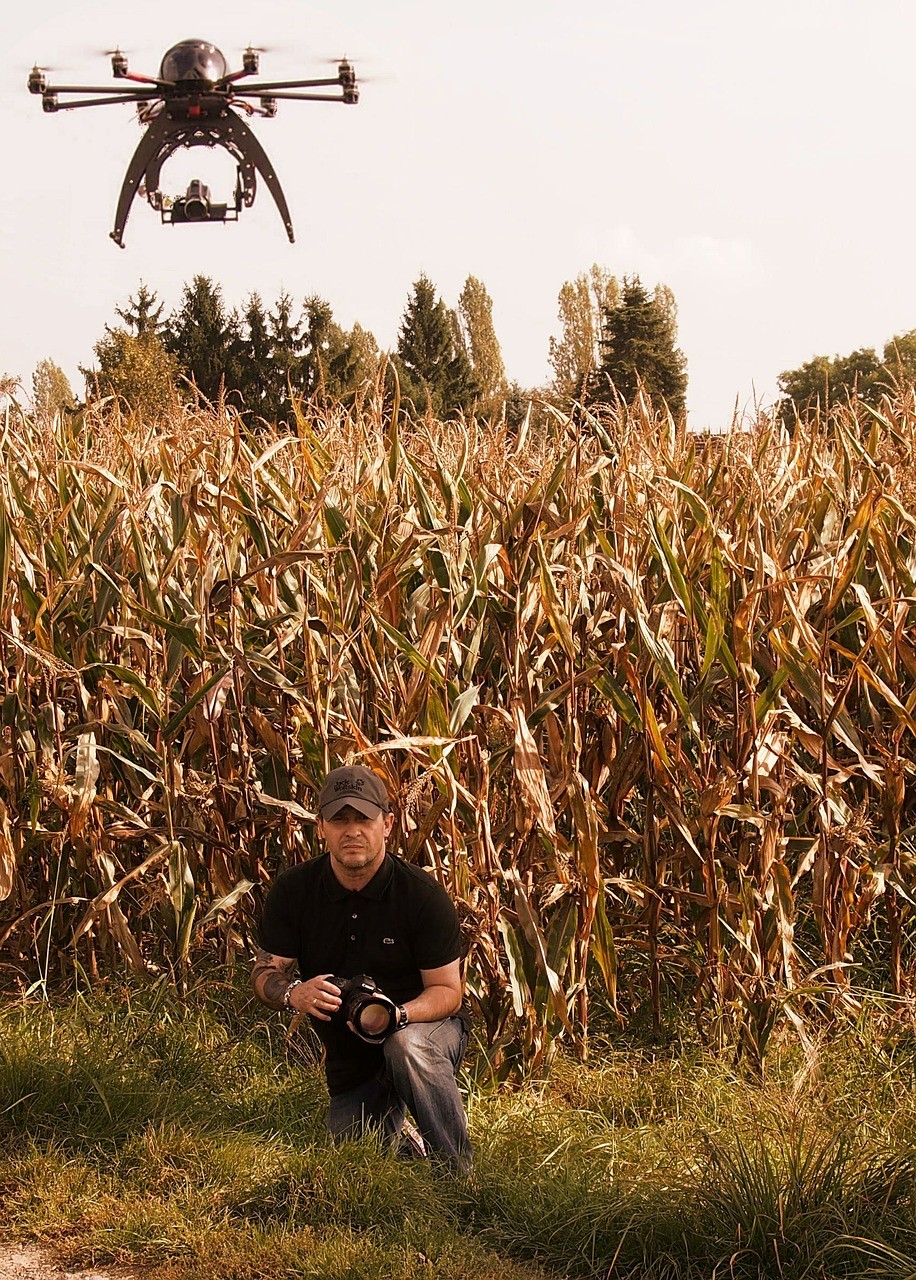
• Practice navigating your drone at parks and open areas first until you feel confident enough to use it at your desired shoot location.
• Practice the general rules of photography (e.g. proper framing).
Don’ts
• Don’t fly and shoot in harsh weather.
• Don’t fly in areas where your drone can crash into manned aircrafts, people, or animals.
• Don’t go too far or too fast on your first few flights.
Once you’ve mastered operating and taking photos with your drone, there’s no aerial shot that you won’t be able to manage. And that’s the beauty of having a drone to accompany you in your journey into aerial photography.

Certified Drone and Aerial Photography Training
http://argusrising.com/
Would love to see the review soon, the dJi Phantom 3 is $400 on fLeaBay this week.
…..and please don’t harass wildlife!
In the UK you need to attend CAA courses and get a licence if you wish to sell your images.
https://www.caa.co.uk/Consumers/Model-aircraft-and-drones/Flying-drones/
http://www.bbc.co.uk/news/uk-36069002
Drones are under the microscope this week.
looking forward to your drone reviews. thanks Doug