It’s Friday so get ready for the Friday film later on today! Also, this weekend a GREAT user review and comparison of the Samsung NX10 and Oly E-PL1 submitted by a reader of the site. Lots of cool stuff on the way!
For now I would like to post something a reader sent in that is pretty damn cool! Franz-Georg Wand has written a small article on how to convert your M8 into a pinhole camera. The images he submitted have that dreamy, blurry pinhole look so I thought you guys would find it interesting. Thanks Franz!
From Franz:
Hey Steve,
following your “going back to the roots” and shooting with film-Ms – oh I really love my M6 🙂 – I thought, maybe you would like to see some images using the digital Leica as a pinhole camera … so, this is the story …
Scottland, Islay … with the digital Leica-pinhole-camera
Last year I found a store – www.monochrom.com – where you can buy a end cap (sorry, I did not found the right word for it) for the Leica Ms with a teeny hole in it, so that you can use it instead of an objective (lens)
… and so your most modern digital M will become a former pinhole-camera.
Although I only made some bad and disappointing experiences with it I decided to take it with me to Islay, an isle of Scottland, where I wanted to stay some weeks to learn more about Islay-Whisky 🙂 Oh yes, and I did!
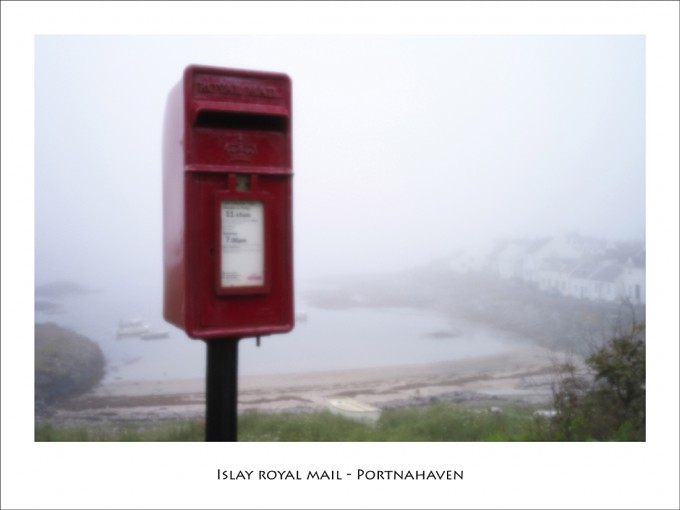
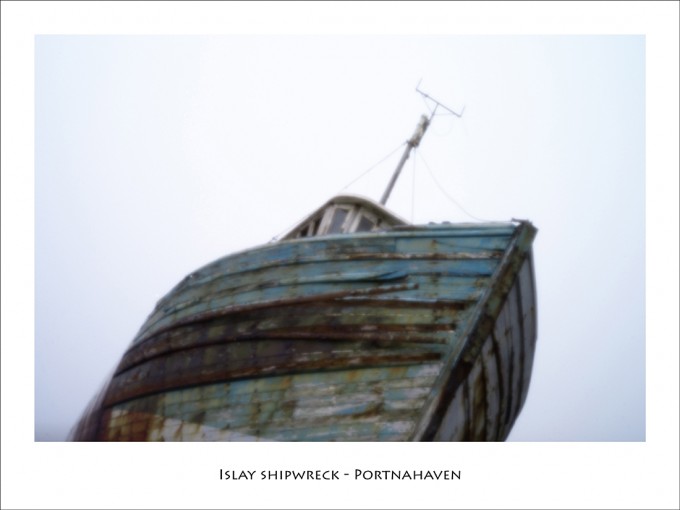
I found a small harbor, Portnahaven, lying in the fog when I first arrived on a rainy day with some old boats, waiting for some better times. The colour of this rusty boat inspired me and I started taking pictures, using several lenses.
But … at the end, there was no really good result. With none of my lenses I was able to bring out, what I was thinking of fixing my eyes on this heroic rusty steal.
I remembered this little peace of plastic with its teeny hole in my camera-bag, nothing worth in comparison to a real lens, but … I tried it …
The effect was, that I started taking pictures of this small harbor for the next three days. Not using any lens, only with my digital M8-pinhole-camera.
Only having an aperture of about 125, always using a tripod, always having long exposure times, always having the same focal length of nearly 35mm.
I was bound by these fixed terms, but felt free of no longer thinking about other lenses and possibilities how to create the image.
… and there was the depth of focus, with it´s warm blur …
Some days later I found a field of wild cotton, strong winds whipped the plants. I laid myself down to the wet grass and made this shot with my digital-M8-pinhole-camera … I love it sooooooo much !
Best wishes from Castrop-Rauxel, Germany, “Ruhrpott”,
Yours Franz-Georg Wand


Morning 🙂
@ Jason: I´ll send you an email soon …
@ Bishop: I did some low light exposures but had no time at all for the development. For this moment I can say, that it´s difficult to work with high ISO conditions … the noise, the noise, the noise …
@ Chris: Sorry, of course you are right with the one-“t” !!! … too much Islay-Whisky in that night!
@ Elaine: 🙂
… thanks for your comments …
Franz-Georg … who is still working on his homepage
Sorry, there is an error in the above. You should use a BODY cap to make the pinhole lens, not a lens cap!
These pictures are BEAUTIFUL. No doubt about it. But isn’t it against the rules to BUY pinhole lenses?
It is easy to make one oneself. Just drill a 3 to 5mm hole in the middle of the Leica lens cap. Cut a piece out of a aluminum beverage can, about 10mm diameter. Flatten it. Make a VERY small hole in it (more below). Fix the disk on the outside of the lens cap. Use some sort of duct tape and make sure that the hole is right in the middle of the hole in the lens cap, but do not cover the hole with tape. The focal distance “f” will be about 30mm, easy to measure.
Now about the hole. The opening should be of a size corresponding to something in the area of f/150. As “f” was about 30mm, the opening should be about 0.2mm. Use a thin sewing nail to make the hole. Most nails are too thick so just put the point of the needle through. The most important thing is that the edges of the hole are clean. If they are rough, then the picture will be rather unsharp. Fine sanding paper may help. Good purchased pin hole lenses have laser cut holes and these have very clean edges.
You can easily check the aperture size of your pinhole. A f/128 hole is 12 stops smaller than f/2. Or 6 stops from f/16. (The row of full f/stops is 2 2,8 4 5,6 8 11 16 22 32 44 64 88 128 and 176 etc.) So now your measure something with you normal lens that gives a meter reading of, say, 1/500th second at f/16. Measure the same thing again with the pinhole lens. If the reading say 1/8th sec, then you have f/128. If the reading is 1/4 sec, then the hole corresponds to f/176. Both values are fine.
I was looking into pinhole photography when I saw a woman artist’s work on flickr. This concept of using the M8 as a pinhole camera is very exciting. I adore the photos. Such beautiful work, Franz-Georg!
One “t” only in Scotland. One further thought – you would only need the world’s smallest IR-cut filter to use the M8 as a pinhole camera!
Franz-Georg —
As the others have commented, this is wonderful work. While I am a B&W guy, I really enjoy the colors…mostly like the soft focus. Am heading to the monochrom website to check these caps out for myself. Did you try any low light exposures? If so would be curious to see your results. Thanks for sharing yor creativity.
Best regards — Bishop
Franz-Georg,
I think those pictures illustrate your creativity and “out-of-the-box” thinking. I think they are amazing and I would like to see more of these, especially with longer exposure and darker conditions for instance. I’m somewhat surprised not to see any vignetting and wonder if a uv filter, placed in front of the hole would reduce the noise, also a visible light filter experiment could be interesting. Could you please experiment some more and shoot me an email with the location of more pictures? This would be outstanding, and again, thank you for your Art, this is really good. Please email me at jibanes()gmail.com.
Hey Damian and Jerome,
thanks for your responses! … here some more details …
Exposure:
Royal-Mail – 1 sec / ISO 160 / cloudy and foggy,
Shipwreck – 1/2 sec / ISO 160 / cloudy and foggy,
Wild-Cotton – 1/8 sec / ISO 160 / sunny
The reason for using a tripod is not only the exposure time, it´s easier to handle the image structure, as the focal length is not exactly the same of the 35mm lens and you have to control it on the display. As the depth of focus runs from about 10 centimeters to infinite it´s very interesting if you can keep the distance as short as possible to use and show this . The distance in the Wild-Cotton-image was about 20 centimeters, in “Shipwreck” about … 8 meters.
I´ve not tried to convert them to B&W yet, I love this colours :-). But of course it´s possible.
But you really need some other PP … to clean the image from all the dust which becomes visible using an aperture of nearly 125 ! 🙂 … I needed more or less half an hour for each image … that´s the crux!
Franz-Georg
Could you please give us some details: how long was the exposure? What ASA/ISO? Distance from subject and have you tried to convert them to B&W (which I think they might look better this way).
Wow, I read this site most days and always look forward to the daily inspiration pictures. They really are just that – great inspiration. Some really stand out though and this set fall in to the category. Great pictures.