

METERING FOR NEGATIVE FILM
One of most frequent questions that I get about my film photos is “how do you get such accurate colors?”. I answer similar messages time to time, but there is still something more in my mind, something that I don’t put in my replies, an idea that this question is worth a bit more than short answer, a bit wider appeal, an article maybe. So here you are; illustrated, as usual.
There are a lot of factors, which have influence on final outcome when shooting negative film, such as: scene, light, lens & camera, weather, film age, duration and handling of film before processing it, processing of film, scanning. This list could go on and on, but today I’d like to stop one important (maybe one of most important) factor that I feel is a bit over mystified, or people tend to think that it is something complicated. This aspect is film metering.
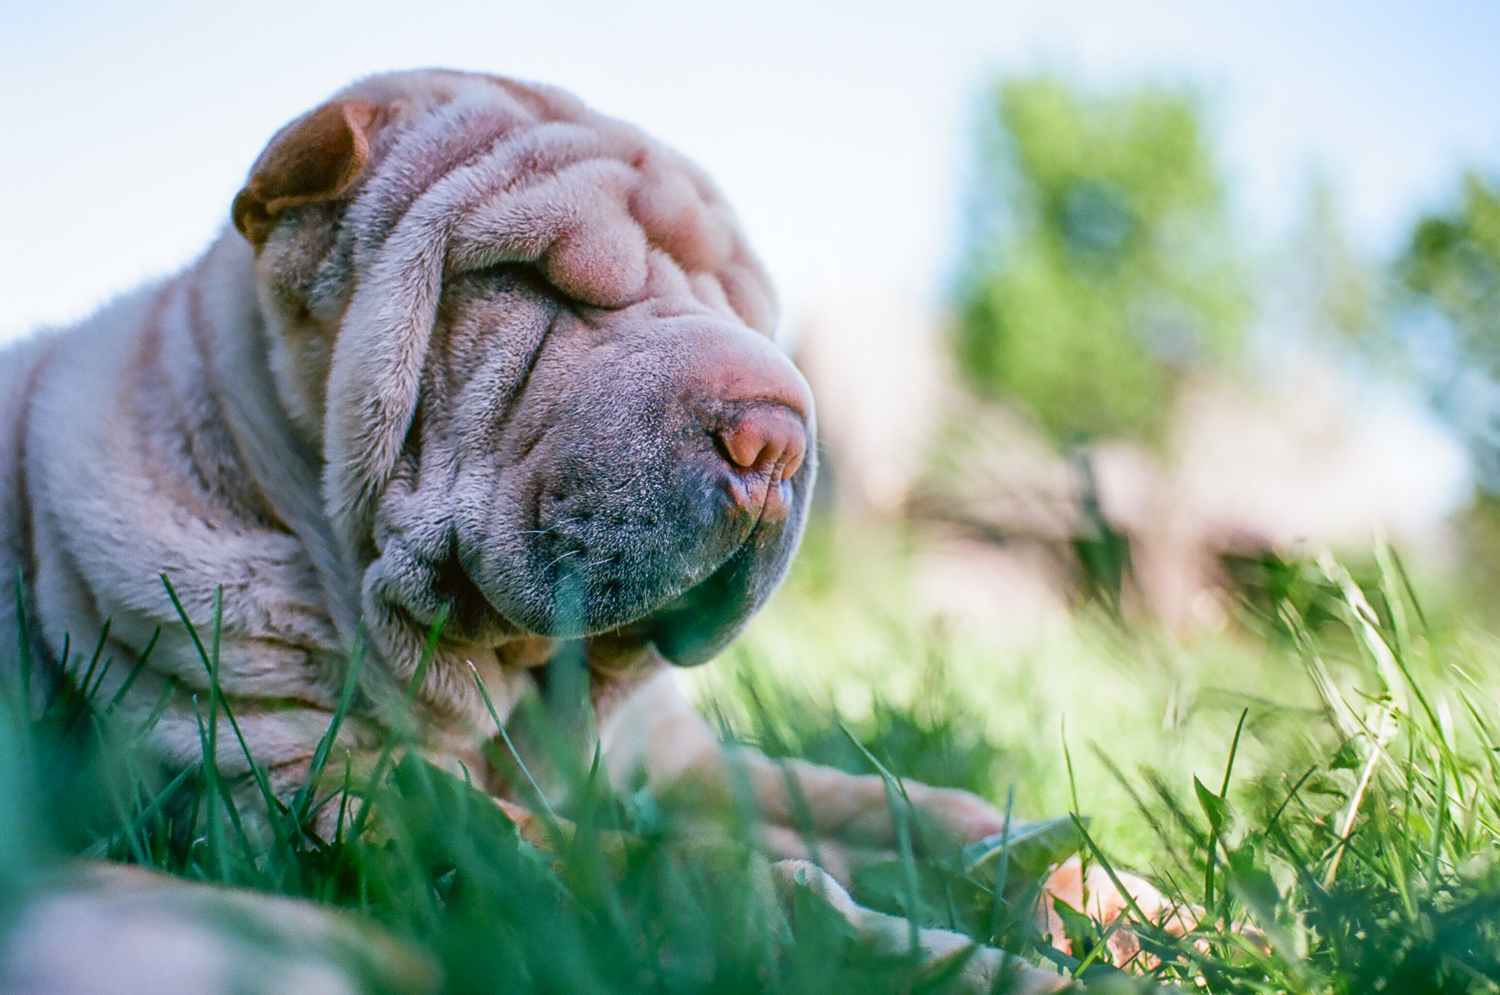
Pentax MZ-S, SMC Pentax-FA 43mm F1.9 Limited, Kodak Ektar 100
While subject of scene metering is very deep and messy rabbit hole and I’m in no way a master that knows everything I’ll try to offer a quite simple approach how to get proper exposures and overall good film look. During my first steps into film photography I faced and vent trough a lot of myths and different more or less complicated approaches, to name the few:
– Rely on camera meter and everything will be fine. Well maybe, but camera will not always pick best decision when faced high contrast scene. Simple center weighted metering could make big mistakes in such situations, super-duper matrix 3d meters on never cameras might “average” such scenes too much. And believe me – you want to shot scenes with contrast. I’m not saying that its bad to rely on camera meters, they are good, even 30 years old center weighted meter on my Pentax SuperA does perfect job, and I totally rely on meter in my own approach, but I don’t let meter decide how shot will look like, because relying only on meter leads on proper exposed frame, but not proper executed vision of particular shot.
– Rely on film overexposure latitude and sort everything in post process. Yes I seen examples with drastic C41 film ability to handle overexposure (for example look for Mr. Hamish Gill article on this subject). But the thing is that according to my experience – final outcome depends on scanning as well. My films are scanned in photolab, and if its overexposed, then it looks overexposed and I cant get back blown areas. Maybe if it is scanned differently, its possible, but that’s not for me. And still, even Mr. Gill in his article says that film looses a bit “bite” / contrast.
– Common practice with negative film is to comply the rule “Expose for shadows, develop for highlights”. While in general it is true, it doesn’t give you the picture that you desire, it just gives you way how to get maximum information from given exposure.
– You could go maximum technical elegant way – study and apply in practice Ansel Adams zone system. But frankly – who has time to do that? Well yes, its proper way, but first – you have to learn it. I read “Camera”, “Negative” and “Print”, “Camera” I read several times, but still I’m barely scratching the surface; I’d have to practice and read again, then practice then read again in order to get maximum from it. On the other hand this approach is very good then you have time; camera is on tripod, you can study scene, different lightning, measure identify and apply zones to different areas. In short – it’s not for fast action. And by fast action I mean very common situation – usage of camera to document family life.
– You could go maximum manual purist way and don’t use any metering at all. Instead apply extensive sunny 16 rule, have all possible variations of expositions in your head and train yourself to feel and guess proper combination of aperture and shutter speed (resource, that looks best for me is here: http://www.fredparker.com/ultexp1.htm). But such trained eye way is not for me. Maybe I’m not skilled enough, or still like to play with tech toys, or not mature to archive such Zen level. While reading of this material provided me with lots of understanding, I use come components of information from this awesome resource and I have sincere and great respect for author Mr. Fred Parker, but I still need in camera, or of camera meter. Look if I need to ram a nail – I use hammer, dig hole in ground – I take shovel, dig it?
– One more common practice (or myth) is to shoot film not on base ISO, but set it on on lover sensitivity. In most cases to me this sounds a bit suspicions. First – I think that major film producers like Kodak, Fujifilm, Ilford are smarter than me; if they stated certain sensitivity for their film, they made it for good reason and unlikely they are trying to misguide their customers. Secondly – this approach is a bit similar to “expose for shadows”, I mean its generalization, a rule that leads to keeping maximum information on negative, but not a rule that leads to proper exposition of your choice. Third – frankly I don’t see the point. Let me explain this: if you set lover ISO basically you overexpose frame. But if you have contrast light in frame, and meter the scene in most common centerweight meter, you still might don’t know if you underexposed or overexposed main subject. I’ve seen many examples in web, where people claimed that they overexposed frame (shot at lover ISO than box speed), but according to colors of main subject I can guess that main subject was still underexposed, because metering of the camera “averaged” actual exposition and decided to give higher shutter speed. All rules have exceptions; according to my experience one exception in this case is Kodak Ektar 100 film when shooting people. I get better results when I overexpose Ektar film one stop; skin tones become less red and more natural.
I could go on and on, but the point is that I just want to let you know that each theory / approach is right and carry valuable information, but there are downsides as well.
During my short career as enthusiast film shooter I developed simple way of proper scene metering and exposition that works best for me. It has a lot of components from information in list above and then more. But I pay attention to three rules – if you think about it, it’s simple and fast. So, here we go:
1. Be alert and think about what are you trying to archive.
2. Pick main subject in the frame.
3. Meter the subject, not all frame.
Basically that’s it.
Wanted to keep it simple, but still I have to explain myself a bit. I’ll try to do it by several examples and info how I shoot it. First lets take the picture with the girl and her one light eye for illustration purposes (below). 99% of my shots are done in aperture priority, with spot metering. I pick the subject – in this case it was girls right eye. I applied first rule – I decided that I want that all picture will be underexposed, dark, and one eye will be exposed properly and will be main accent in picture. Time for rule two – right eye, or skin around it is the main subject. So I metered with spot meter skin just over eye, locked exposition with AE lock (that’s rule number free), recomposed a bit and made the shot.
Pentax MZ-3, SMC Pentax-F 50mm F1.7, Kodak Portra 400

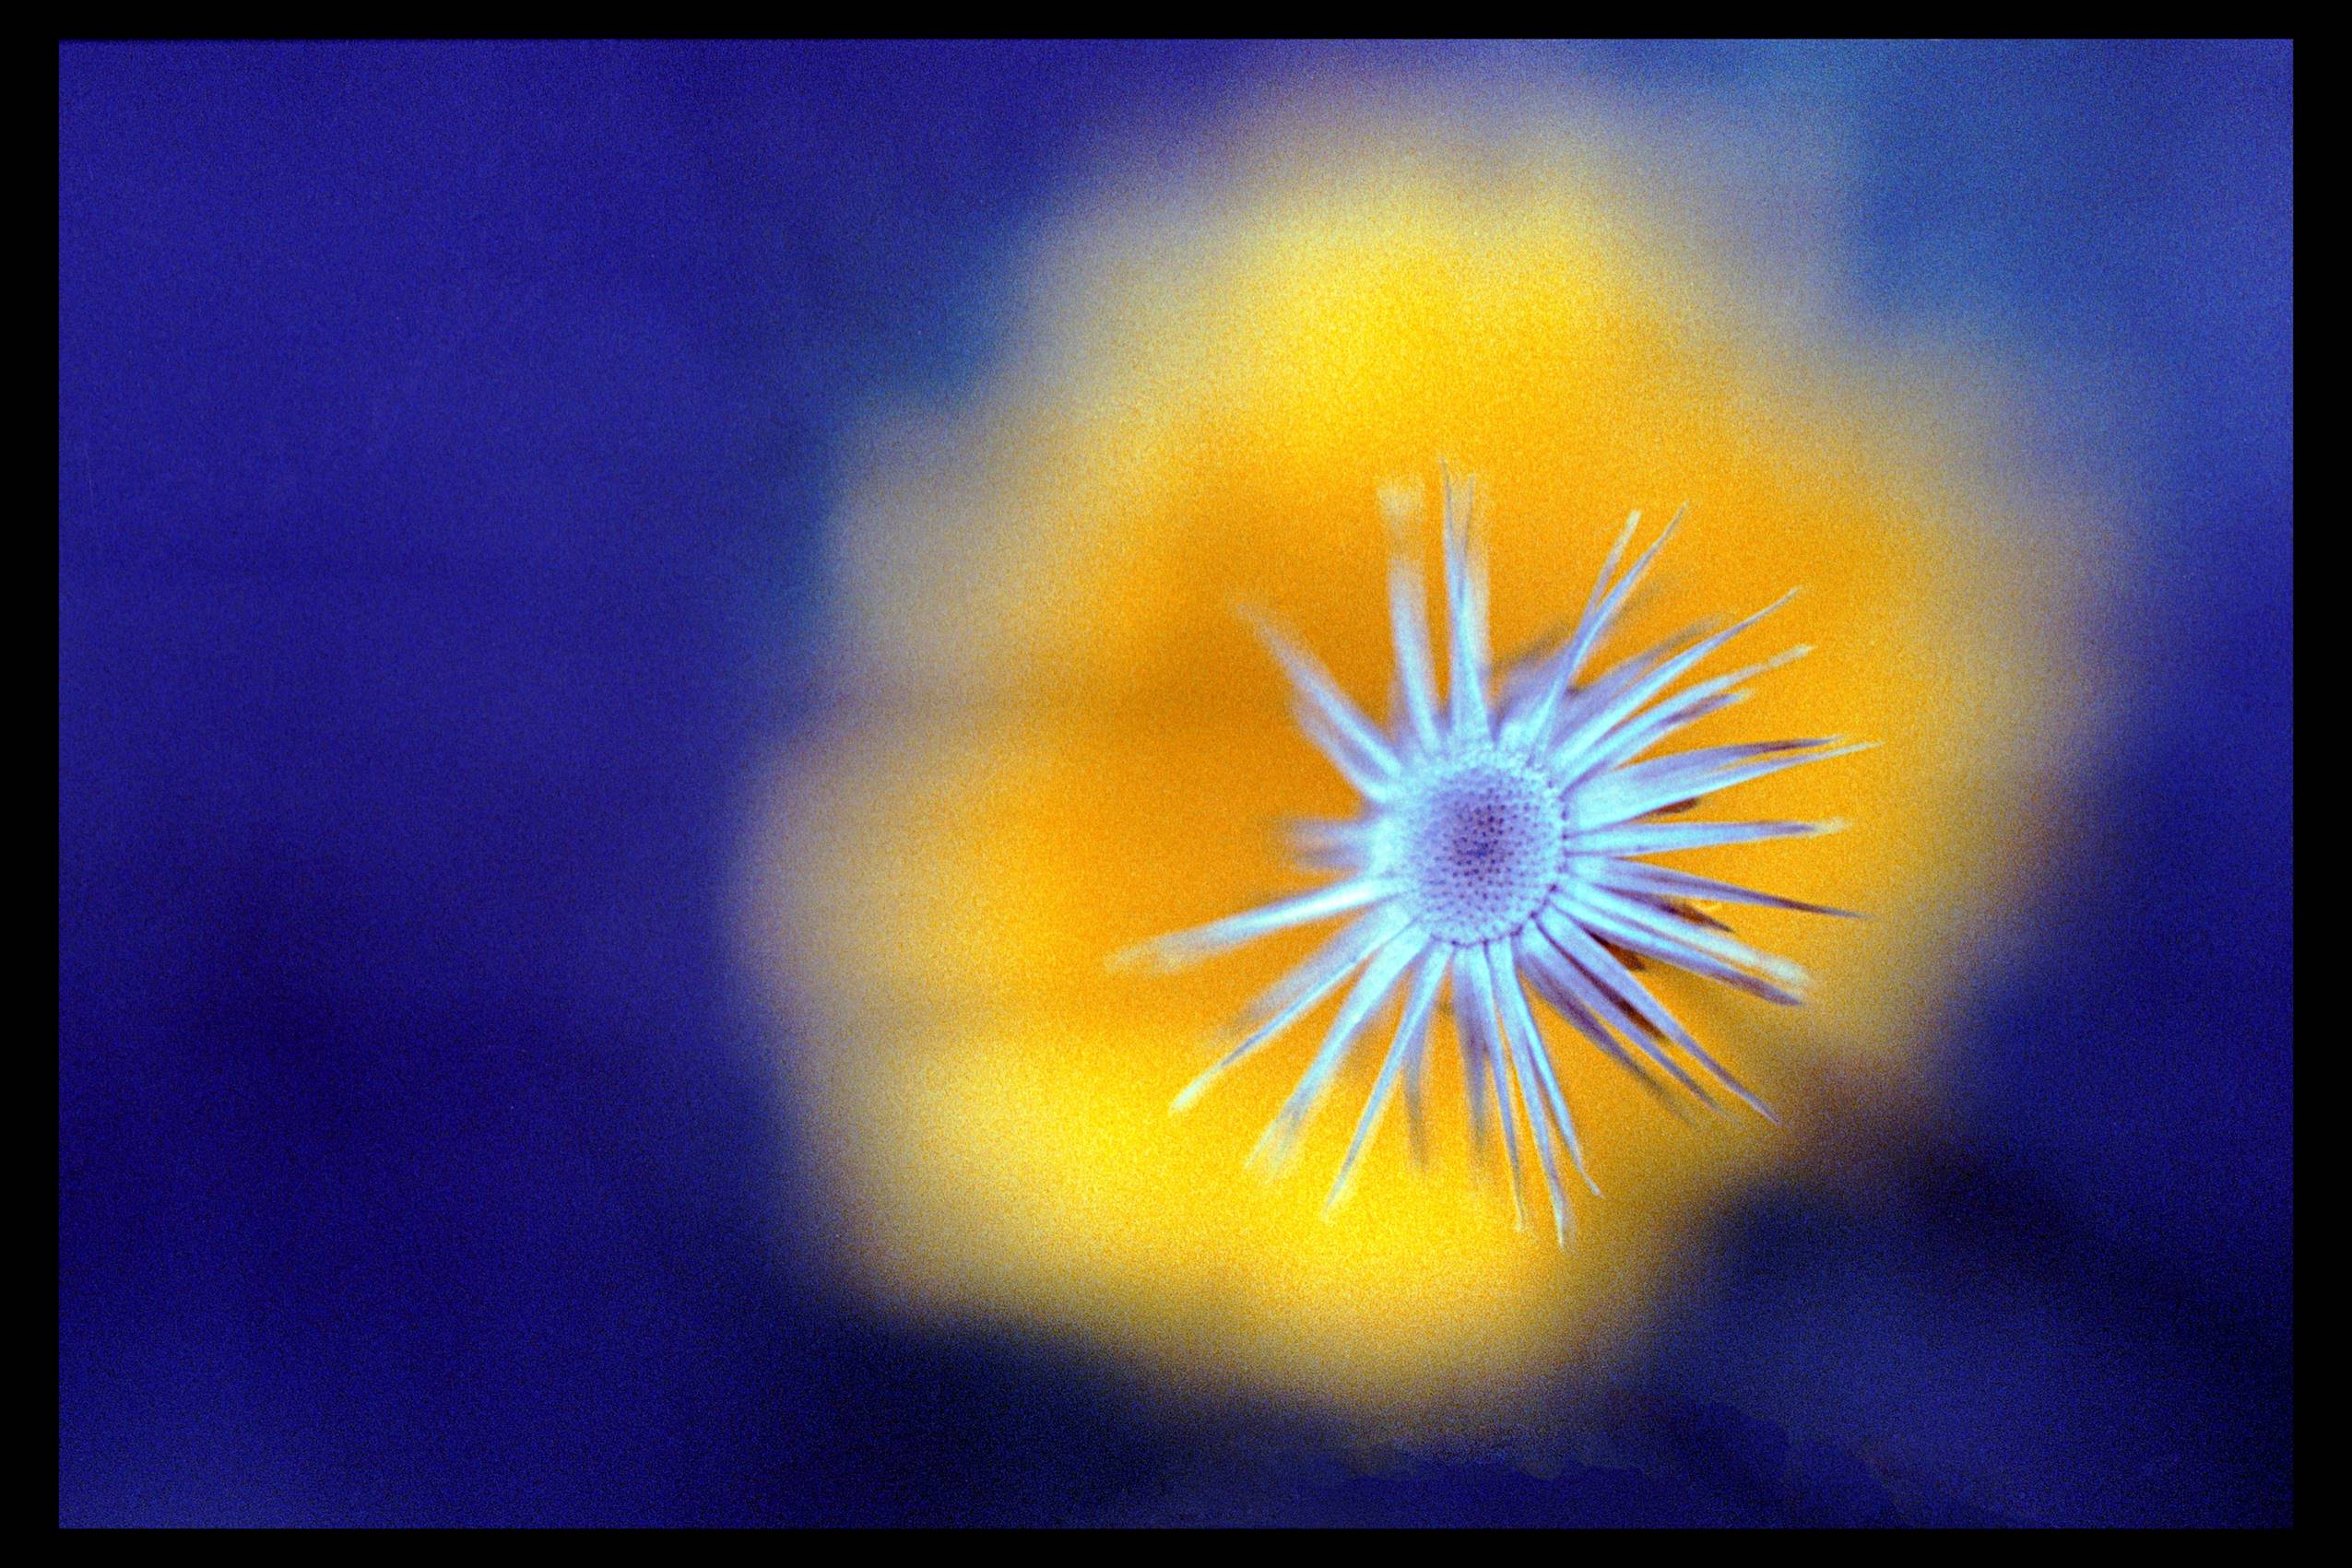
Another example could be chestnut shot (below). Chestnut was illuminated by quite strong overcast daylight, but we still were under tree canopy, therefore background was dark. First rule – I want bright shining chestnut (main subject, second rule) in dark background. As I wanted a bit shine on main subject, I knew that I had to overexpose it so I added one EV with exposure compensation, Third rule – I metered chestnut with spot meter, locked exposition, recomposed and shot. Get it? Every other frame is metered and shot basically in same way.
Pentax MZ-3, SMC Pentax-F 50mm F1.7, Kodak Portra 400

Now you might think that in case your camera doesn’t have spot meter, or has only manual exposure without aperture priority, or hasn’t exposure lock you might not use the same idea and technic. That’s not true. You can still make same adjustments of camera settings in manual mode, without aperture priority and exposure lock functions. You can use center weighted metering to meter main subject just as spot metering, only you will have to learn what area your meter measures, what is the intensity of centering the meter and you might be forced to get closer to your subject for metering purposes, then get back. Even if your camera doesn’t have any meter at all or have only average metering, you still can use this approach and meter with your phone. There are apps that lets you meter not only all scene, but selected spots as well – I use “Pocket Light meter” it works best for me.
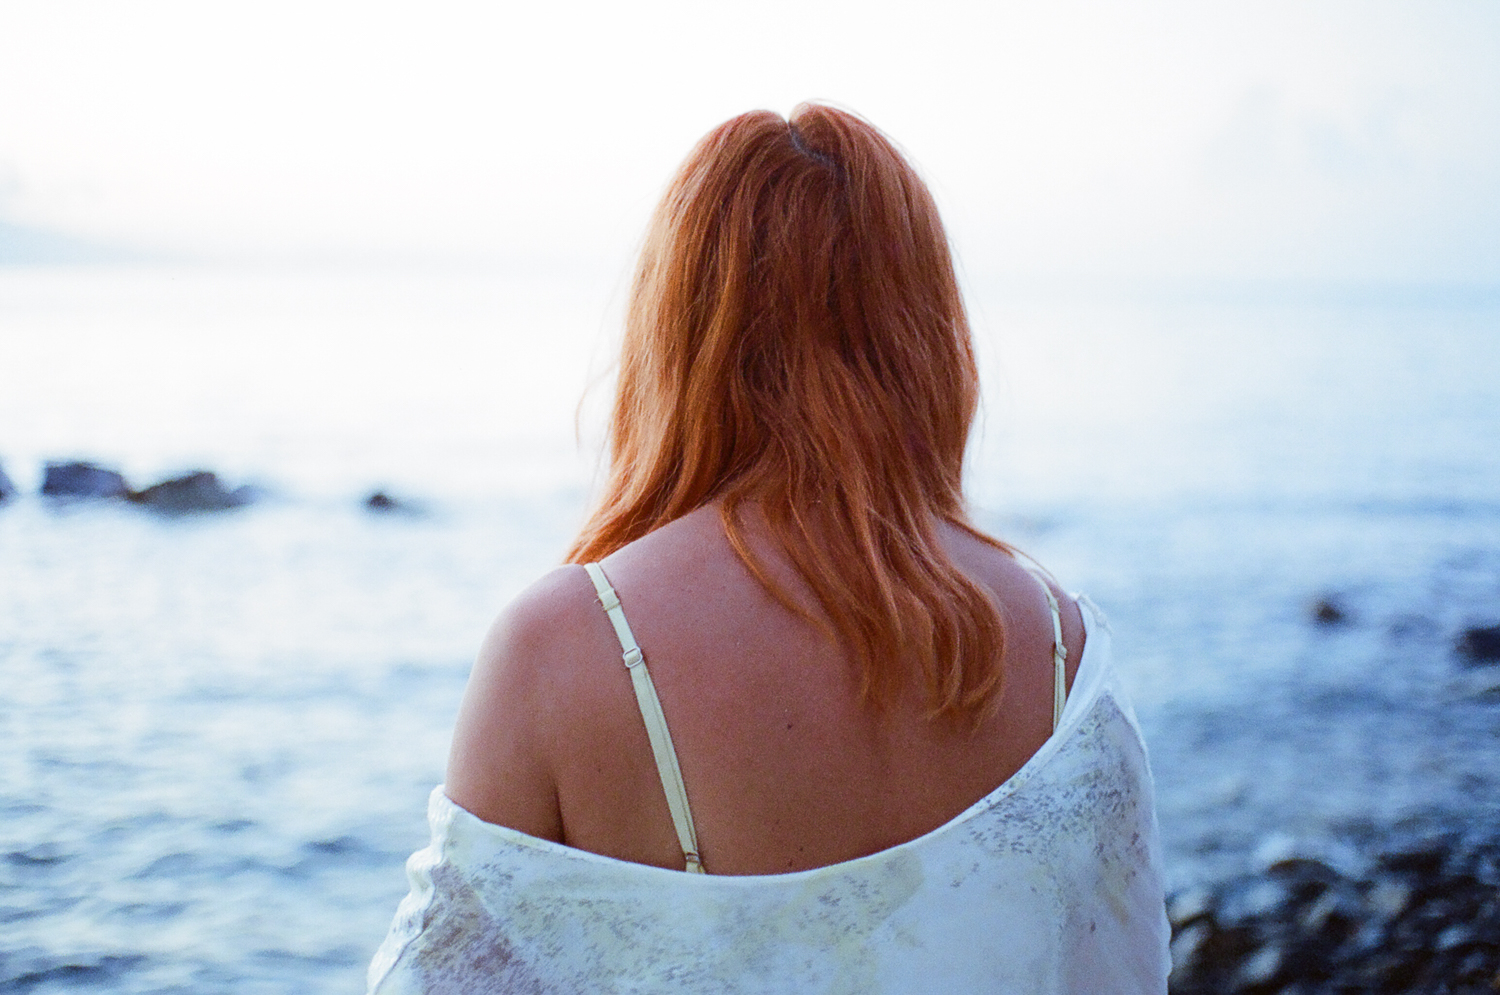
Pentax MZ-5n, SMC Pentax-F 50mm F1.7, Fujifilm Superia Xtra 200
I know that I haven’t invented anything new and this spot metering, exposure locking and recomposing technique is basic and very common, but the thing is that I had to come quite long way in order to understand that I don’t need complicated approach, together with film ability to hold overexposure very well it works. It simply works. Later you could polish picture in LR, but believe me you don’t need to do a lot.
Pentax MZ-S, SMC Pentax-FA 43mm F1.9 Limited, CineStill 800XproTungsten
Other issue, which you might find strange, that I’m talking about film metering, while almost all information could be used for digital as well. Yes, I know that. But the thing is that digital photography metering is a bit easier and less mystified: you can have instant feedback, if you use mirror less tech – you see your shot before you take it, so in general you don’t need to think about metering at all, you can track back all your exposure settings from exif and you don’t have a feeling that you spend money with each push of shutter button, and there is no additional step – scanning, that complicates matter even further. That’s why I think that film shooters need more confidence in light metering.
Point of my story is – fresh film shooters, or those that want to try – don’t be afraid, don’t be confused by different takes on light metering subject. It’s simple. Go for it.
And if you want to evolve, have time and desire to get deeper in subject, I strongly advise study all ways mentioned above. You’ll understand exposure better and maybe will develop your own, more effective workflow. And if you do, then, please share it with me.
Thanks,
Aivaras
P.S.
My advanced colleagues – please let me know in case you found anything mixed up. I don’t feel too much confidence in teaching, while still have to learn myself.
P.P.S
Yes I am shallow depth of field junkie. Still haven’t found rehab for than… 🙂
Pic7. Pentax MZ-3, SMC Pentax-FA 50mm F1.4, Kodak Portra 400

Thanks for the article Aivaras, a good exposure is the one the gives you the closest image to the one that you were aiming for, metering the scene and adjusting accordingly is the best advise so well done and thanks for sharing your approach!
P.S. > The ISO approach to rate the film at a lower value is a technique that can be utilised to change the resolution and acutance of the image, it can change the grain size so the printed image appears sharper [important before we had software!]. It can also help to build shadow detail by exposing more of the film in the shadows, the highlights are then controlled by adjusting the time in the developer.
Very good article!
Incident light metering and bracketing. Whenever possible, meter the light falling on the subject as your starting point. Especially true for transparencies. I have thousands of frames of medium format transparency film still stored in my files, and I’m guessing 95% were done with a hand-held incident light meter. Reflective metering is often required because of the subject matter, and that is the only time I would use it.
Thanks in advance for the article. I remember doing a slight change in ISO to saturate the colors in my film days. I see few articles about testing and metering for dynamic range of color film. Keep on posting!
Thanks for a great post with some nice photos to illustrate as well.
I don’t have a film camera at the moment ( sold my Pentax K1000 system a while ago as needed some cash ) was going to a young keen photographer so all was good.
My best success was had when I used to use an incident light meter for the general value and add or subtract to taste as they say.
Still have that old Sekonic Studio and will never sell it.
Wonder how good those phone app light meters are ??
Fergus, Lightmeter app, a free download, is great. Matches the meter readings of all my cameras (D810 and some slrs) well; within half a stop accuracy. Gives you colour temp as well.
I use it when I’m using my F or F2 with eye level prisms.
As for one of the remarks below: in my experience caucasian skin is not 18% grey. I usually overexpose by half or two thirds of a stop off a face reading. Works well.
Dont have experience with lot of apps, but “Pocket Light meter” works really good.
Aivaras, that’s the one!
Thanks for positive remarks and suggestions.
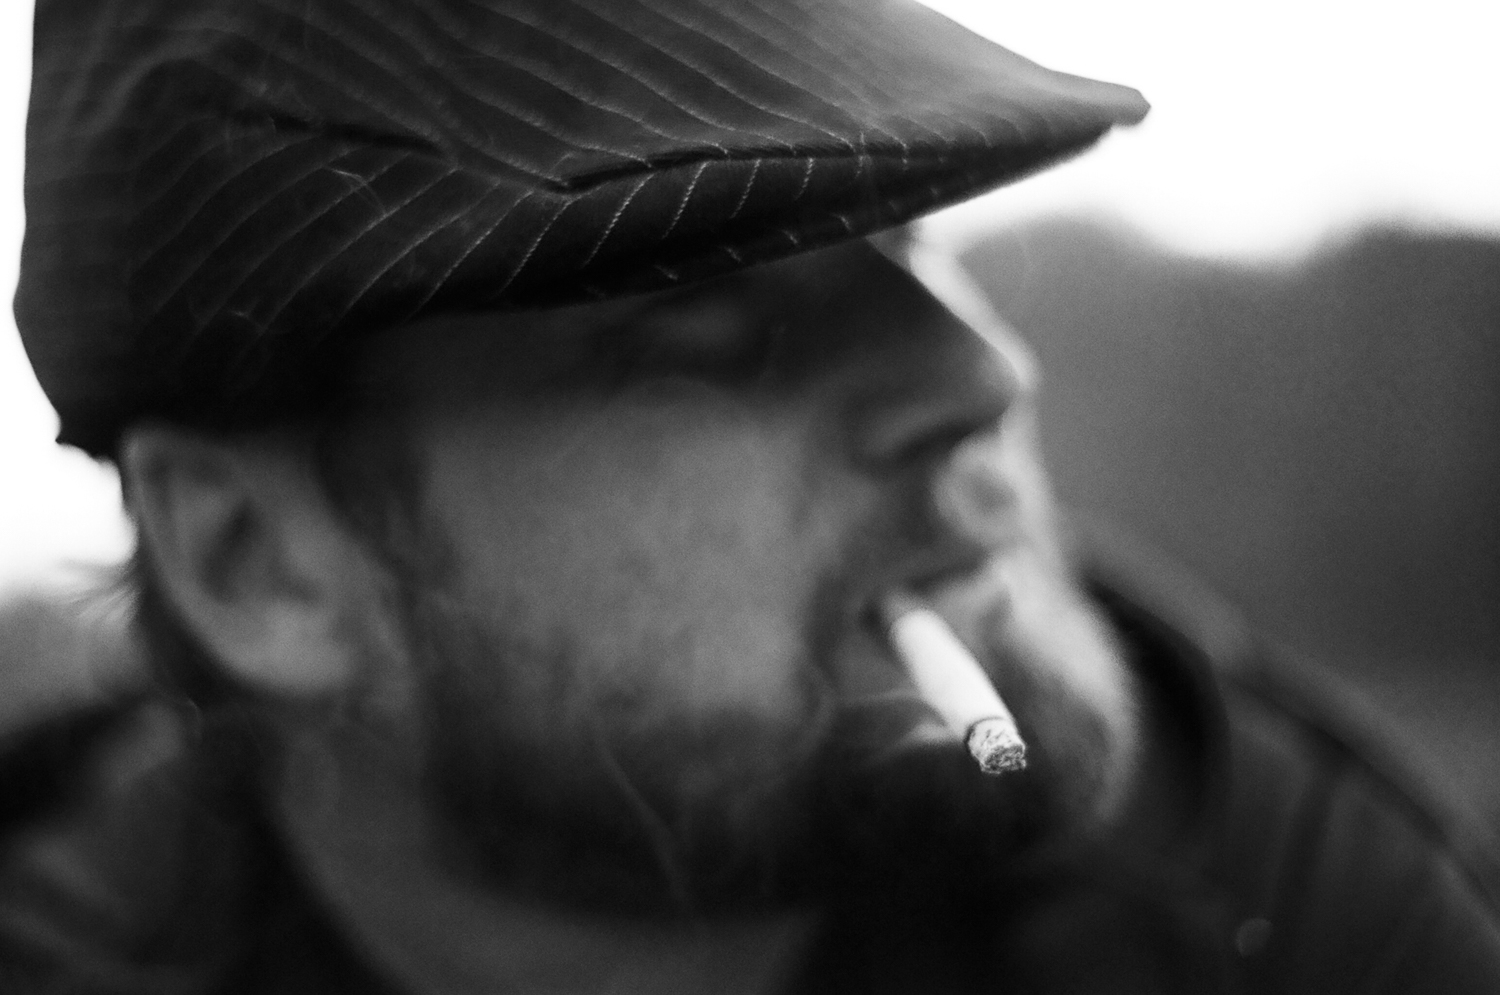
Tom – your remark regarding 18% grey are very valuable, I metered face skin on shot of man with cigarette, thats why cigarette is properly exposed. Btw – regarding 18% grey and grey card – in normal light caucasian skin is close to grey card, so you could use your palm.
Huss – actually I metered centre of chestnut, and spot meter area got a piece of centre, top part and bottom part. I think that even sport meter averaged metering, as you noticed that those parts are illuminated unevenly. And then I aded +1EV.
I enjoyed that, even though I don’t shoot a lot of film anymore (but that will change, I hope). The question, “What part of the image do you want properly exposed?” sounds very easy to answer, but I remember when I was a beginner that it’s not as simple as I thought.
Some readers might ask, “If negative film has so much latitude, why be so fussy?” Well, you answer that question, although I think some people might not fully appreciate that you did. You wrote,
“but the thing is that I had to come quite long way in order to understand that I don’t need complicated approach, together with film ability to hold overexposure very well it works. It simply works. Later you could polish picture in LR, but believe me you don’t need to do a lot.”
So basically you’re suggesting that people should try and treat negative film like slide film. This is a good idea, because it will save a lot of time when you get the scans. It’s too bad that slide film is so expensive, because I think that if it was cheaper, more people would use it, and more people would appreciate thinking about exposure.
The positive side-effect of getting exposure right on the negative is that if you want, you can get interpositives made, which are basically slides made with dupe film. If slide film remains expensive, this idea of dupe slides might catch on again (remember Seattle Film Works?).
BTW I really like the look of CineStill. And Pentaxes are very underrated cameras – I have a Spotmatic with a 50/1.4, a 28/3.5 and a 200/4. Though I think now their value is increasing. I could be wrong, though.
I have one piece of advice for film shooters: always use constant aperture zooms. Always. Even with digital it’s better to use them, TBH. And they are not expensive.
It is better to shoot with a 70-200/4 than a 70-200/3.5-4.5. The wider aperture is not needed at the short end, so you don’t really get any more ‘speed’ out of the lens, and you end up making exposure mistakes if you’re using manual metering.
Karim – you dig even deeper than me, congrats. 😉
I still hadn’t shot slide film, but I know the theory , that it hasn’t such latitude as negative. So basically, only when I read your comment I understood I’m suggesting to thread negative film as slide film. 🙂
But there is one difference – latitude of negative should save all other parts of scene, apart main subject.
Beautiful work Aivaras!
Love the simplicity of the compositions and the tones from the film really add something else…
Very well explained. I am from the generation, before digital, so I was trained working with film.
One thing not to forget when using a spotmeter; they are set to meter reflected light on the subject. Their default is 18% grey, greycard. When using a spotmeter, and your subject is somewhere around 18%grey, you’re fine. When using the spotmeter, for instance, on the cigarette in your B&W shot, the photo will be underexposed. When using a spotmeter, best way is to use a greycard, or decide what part of your image should be 18% grey (the guys skin, cigarette’s filter).
Personally I use a separate light meter, and I don’t measure reflected, but the light that ‘shines/falls’ on the subject. I still have my Minolta meter from the analogue years, but I can imagine not everyone wanting to buy one. In that case spot metering works as well.
By the way, we always overexposed negative film 1/3 of a stop.
Excellent images!!
Really nice article, and love the shots, especially the chestnut one. Speaking of.. metering on the chestnut would give different results depending on whether you metered on the top of it, the middle or the bottom. It looks like you metered for the lower part, given the brightness of the top.
I do agree with you that the mfgs know what they are doing when they post the rating of the film, but it has become something of a thing to claim that the actual rating is less i.e. a 400 speed film is actually a 200 speed film!
The only time I lower the ISO rating is if I am shooting expired film, that has been expired for a long time as sensitivity is meant to decline with age. But even then I have found that the way film is stored is more important than its age.
Kind regards
Huss
Very interesting and helpful. You don’t need shallow depth of field rehab!
Good article.
Bracketing is a good suggestion sometimes too