
QUICK SHOT: Fuji X-Pro 2
By Axel Friberg
Winter here in Uppsala, Sweden is pretty dull must days with gray skies and cold weather. However, the other day we had a beautiful sunny day with only a few clouds and it almost felt like spring. Naturally, I decided to take a walk and brought my camera with me. A Fuji X-Pro2. Not everything along the way makes for an interesting photo, but most times when I take a stroll there’s at least one interesting scene somewhere along the way worth capturing. Whenever I don’t bring my camera I often regret it afterward. Therefore I find that bringing my camera with me is worth it, even if it only results in one single “good” picture. Of course, having a mirrorless camera makes it a little bit easier to bring, compared to a DSLR.
The photo below was my favorite from the walk. I found the scene interesting thanks to the buildings and the tree branches working as leading lines toward the middle. I composed the shot, underexposed by 1 stop to retain color information in the sky, stopped down to f/5.6 focusing on the building, and waited for an interesting character to walk by and snapped a few frames in 8 fps burst mode. Then I selected my favorite and edited it.
Previously, I have only used Lightroom to edit my pictures. However, inspired by an F-stoppers video with Elia Locardi on Youtube, I tested out a new workflow to bring out more colors from the RAW file. Basically, the workflow looked like this:
Lightroom –> Photoshop –> Color Efex Pro 4 (Google Nik Collection)
(This next part might be a bit tech heavy)
In Lightroom I brought the exposure back up 1 stop and the highlights down -100. Also, I did some additional minor changes to the Shadows, Blacks, Vibrance & Vignette. Then I exported the edited RAW-file into Photoshop as a 16-bit file with ProPhoto RGB color space, to retain as much color information as possible.
The main reason to use Photoshop is because of the sharpening tool called ‘High Pass…’ filter, which does not exist in Lightroom. The best way I can explain the result of the sharpening tool is that it makes the image look sharp when zoomed out, without being oversharpened at a pixel level. But before I did the sharpening, I brought the file into Nik Software’s Color Efex Pro 4. It’s owned by Google nowadays, and it’s free in a bundle together with Silver Efex Pro 2 which is excellent for B&W conversions.
Now, the main reason to use Color Efex Pro 4 according to Elia Locardi is because of the tool called ‘Dynamic contrast’ (found under Pro Contrast) and he’s right. It’s magical. What it does is increasing the contrast in the mid ranges only, leaving the contrast in the highlights or shadows un-altered. To me, it really brings the photo to life compared to anything I can do in LR or PS (It’s possible one could get a similar result in PS, but I lack the knowledge). Additionally, there’s a tool called ‘Polarisation’ which works like a digital polarizer. It gives the sky a deeper blue color. Once happy with the tweaking, I just pressed ‘OK’ and the edited photo was saved to Photoshop as a layer over the original file. Then, all I had to do was apply the sharpening, save, and export.
Below you will find the photo exported to 1500 pixels wide.
Fuji 16mm f/1.4 lens @ f/5.6, 1/1000s, ISO 400
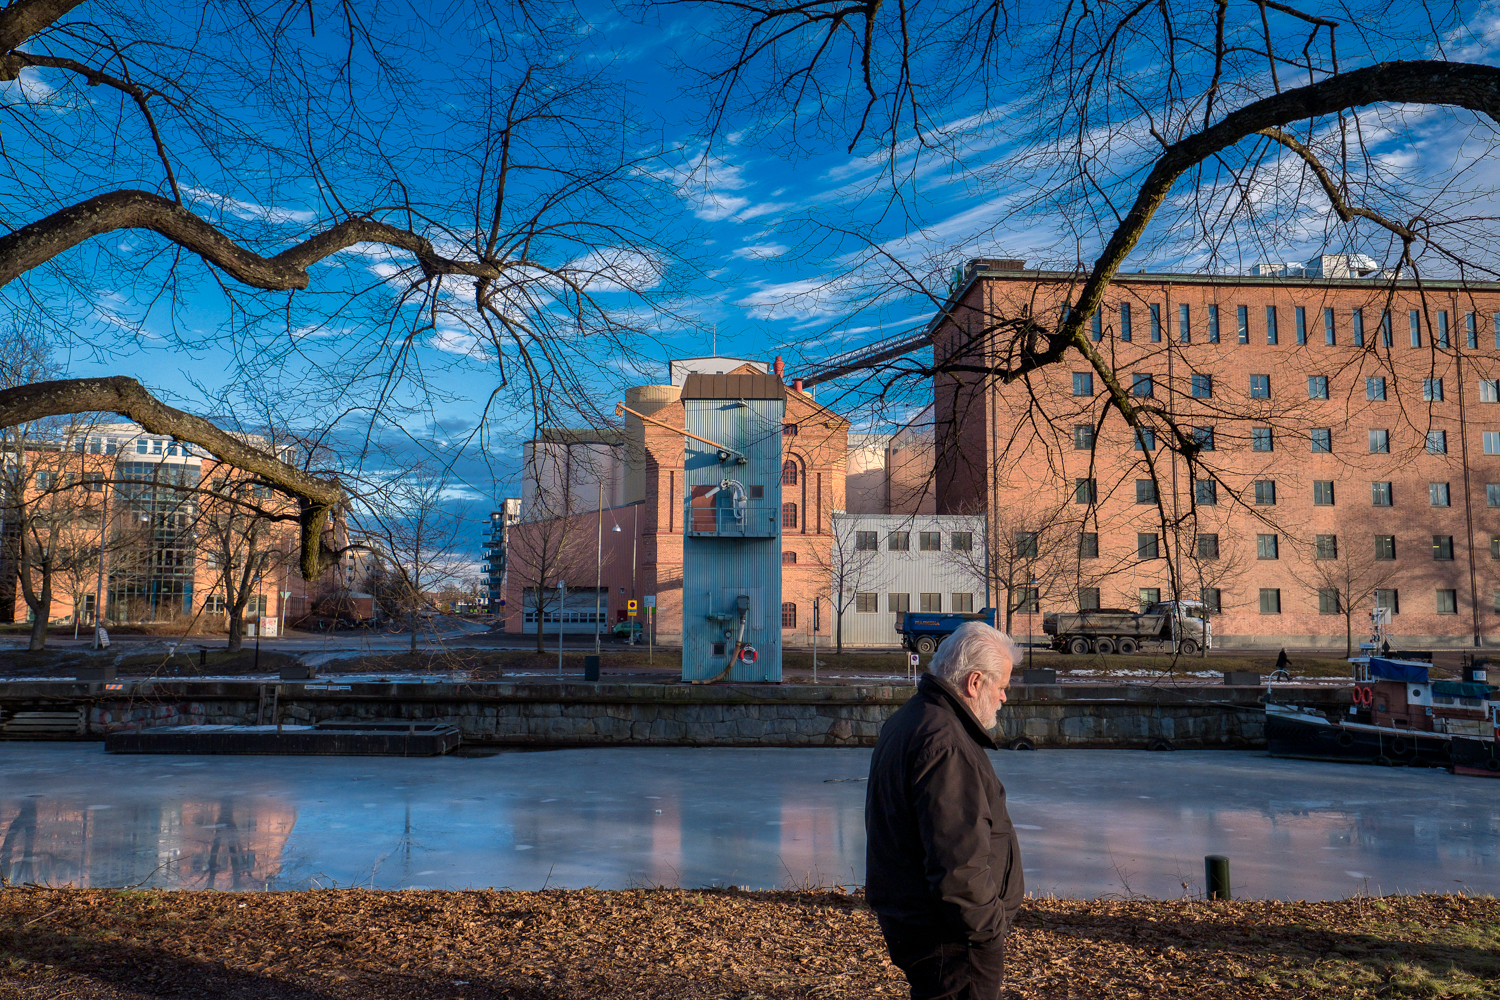
Why bother go through these steps? For some photos, it is worth it I think. The file looks much richer in color and the sharpening method really makes the image pop. I’m very happy with the result and will continue to edit my favorite color images this way.
Best regards!
Axel Friberg

So what
Pray tell..
Good snap but overcooked. I see that people tend to over process Fuji files.
Nice write up. But I’m not a fan of the blue sky. It’s way over processed. But I love your enthusiasm so keep doing what makes you happy.
Happy shooting
Nice shot! I love Nik Efex. I’ve been using the package since it was an App that you actually had to buy. Google takes over and now the App is free…but this is actually a bad thing as they don’t support the SW and it is just a matter of time before it stops working on a future OS.
I use Silver Efex exclusively for B&W conversions and like you I also use the ‘Dynamic Contrast’ feature in Color Efex. I also use Nik Viveza which is part of the same SW package. It is amazing what you can do in Viveza in just 30 secs to improve a photo. The common theme with Nik Efex is that it works really well and it is very quick, saving a lot of time compared to PS at least in my opinion. It will be a sad day when the Nik package disappears thanks to Google destroying another independent SW company.
I feel just the same when I walk in Copenhagen without a camera. That said it’s a superb photo in terms of shapes and structures and foreground, but my preference would be for a much less dominating blue in the sky………. Even so it was good to read your technical stuff.
Good shot. Those clouds and branches makes the photograph suggestive