The Great 35mm Rangefinder Lens Shootout – Part 2 – Close-Up and Wide-Open
By Brad Husick
In part one of “The Great 35mm Rangefinder Lens Shootout” we tested several lenses in a typical landscape scene, setting the lenses at their infinity focus points and shooting at f/4. This represented a fairly typical scenario of grabbing a lens off the shelf, setting it for mid-aperture and taking a photo of a picturesque subject.
Quite often 35mm rangefinder lenses are used in other photographic opportunities. The 35mm focal length is excellent for tighter, indoor settings where the subject is closer. These situations also often call for wider apertures, demanding higher performance from the lenses. In part two of this test we have tested the lenses in both ways – A) a closer indoor setting and then, B) wide-open to see how they render out of focus areas – their bokeh.
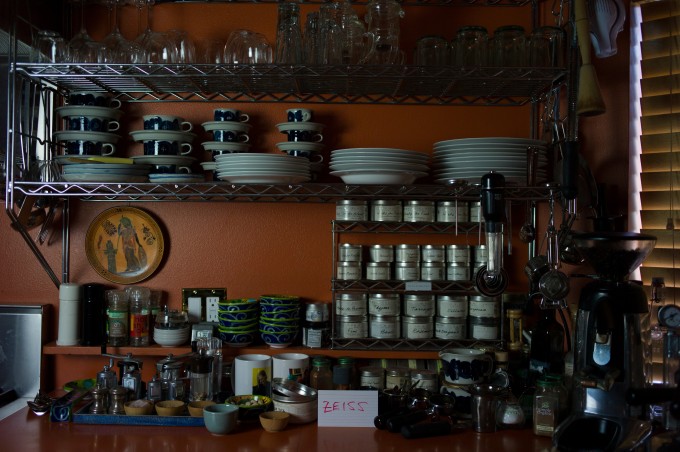
For both parts of the test the subject was illuminated by a single 5500K continuous fluorescent light source in a small softbox and outside light was reduced to a minimum. The Leica M9-P camera was set to ISO 640, white balance of 5600K and each lens was shot at f/2.8, with the exception of the Perar that was shot at its maximum of f/3.5. For some of the lenses f/2.8 was also the maximum aperture, while others had wider apertures available. Shutter speed was set to 1/180 second.
In the part B “bokeh” part of this test the same light source was used while each lens was opened to its maximum aperture. For example, the FLE was shot at f/1.4 while the Zeiss was shot at f/2. Shutter speed was adjusted to maintain the same overall exposure. ISO was maintained at 640.
As in part one of the shootout, the RAW images were brought into Adobe Lightroom 4 and default settings were used to output full resolution JPEG images. 100% crops were taken in Adobe Photoshop CS5. The “bokeh” shots were reduced to 800 pixels wide for web display.
In this test we included six lenses from part one:
MS Super Triplet Perar f3.5 Mark II (Perar)
Zeiss Biogon f2.0 T* ZM Silver (Zeiss)
Leica Summilux f1.4 ASPH FLE (FLE)
Leica Summicron-M f2.0 ASPH Chrome (Cron)
Voigtlander C Color Skopar Classic f2.5 (Skopar)
Leitz Summaron f2.8 LTM/M circa 1959 (Summaron)
Part A: The Closer Subject
Despite careful focusing, slight variations in focus occurred across the different lenses. This is an important factor – precise focusing, even when using a tripod as in these photos, can be tricky. I suggest using a viewfinder magnifier when possible, and focus-bracketing your shots with minuscule changes in focus so that you can evaluate the images at 100% zoom on your computer to choose the best one. Leica makes the M9 without the capability of tethered shooting (some workarounds are possible but are mostly unreliable), the camera doesn’t offer live-view, and the LCD is not high-resolution, so critical focus is challenging in many situations. Many Leica shooters are hoping that Leica includes a more state-of-the-art LCD and perhaps live-view in a future M digital camera.
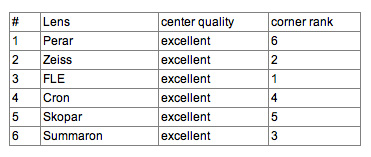
In the center crops of these photos all of the test lenses performed well. In fact, the images were all surprisingly good, from the least expensive to the most expensive lens. Center crops showed very little chromatic aberration, as was expected. There’s little variation here that can inform a decision to choose one lens over another.
At the corners the lenses started telling a more interesting tale. Corner sharpness of the Leica FLE was astonishing. It’s as if Leica engineers were told to solve this problem above all others when developing this new lens. Not far behind in corner rendering were the Zeiss and, surprisingly, the old Summaron. In general the Summaron is a lower contrast lens than the modern formulas, but that doesn’t reduce its ability to render detail. Post processing can add more contrast if desired, but it can’t make a contrasty lens softer without a loss of detail. The Summicron showed some about of distortion in the corner that the others did not. The Skopar is a lens that can achieve sharp results at the center but in my experience this falls away at the corners. Adding to the challenge is the fact that the Skopar has a very short focus throw – the number of degrees of rotation between infinity and close focus endpoints. This means that the smallest movement of the focus ring results in large changes. I resorted to focus-bracketing when shooting the Skopar, taking multiple photos with tiny adjustments to the focus in successive shots, then comparing the results in Lightroom and choosing the sharpest image. This is not my idea of entertainment. The Perar was particularly challenged in the corners, showing distortion and lower resolution.
Interestingly and rather unexpectedly, the FLE lens showed a fairly high level of chromatic aberration in the specular highlights in the corners. I am including a couple of crops here to show you the unprocessed corner and the same shot when processed by Lightroom 4 using the “Defringe – All Edges” control in the Manual setting of the Lens Corrections panel of the Develop module. Default lens corrections using Lightroom’s preset lens profiles of Leica lenses reduced but did not eliminate the color fringing while the defringe control did a more complete correction. Again, the purpose of this test is not to show what’s ultimately possible with each lens given any amount of post-processing, but this example is particularly illustrative of how good software can help even super-expensive setups.
Leica 35 Summilux FLE corner crop
and after the Lightroom 4 “Defringe – All edges”
To my eye the old Summaron did a splendid job in this part of the test. I have a feeling the demand for Summaron lenses will increase soon!
–
Perar Center
and corner
–
Zeiss Center
and corner
–
FLE Center
and corner
–
Summicron Center
and corner
–
Skopar Center
and corner
–
Summaron Center
and corner
Part B: Bokeh
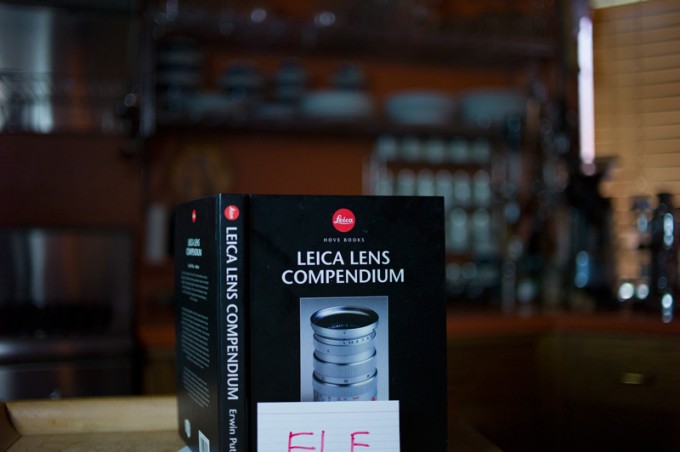
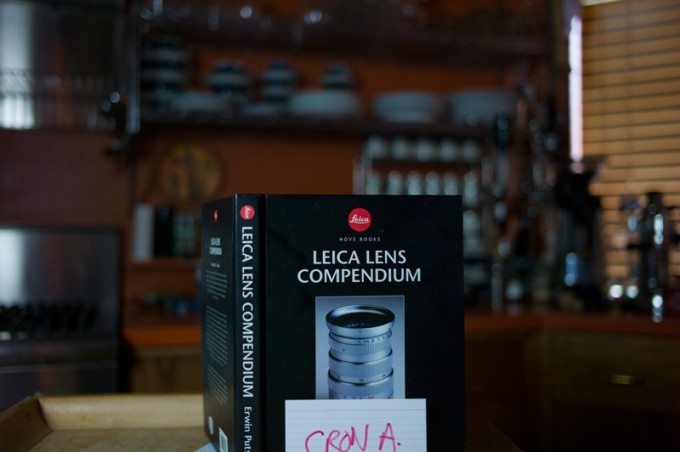
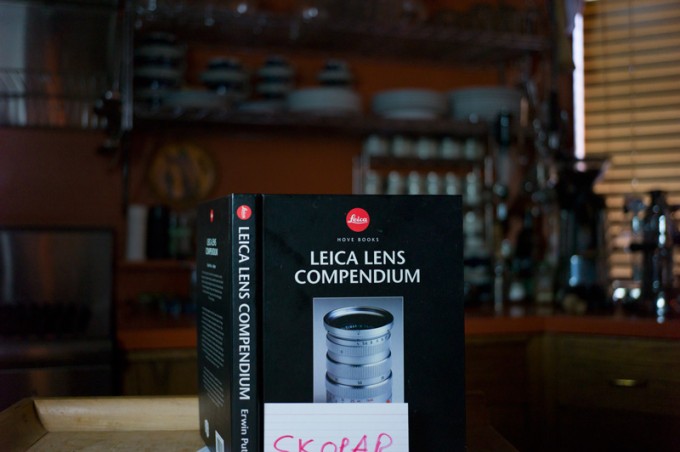
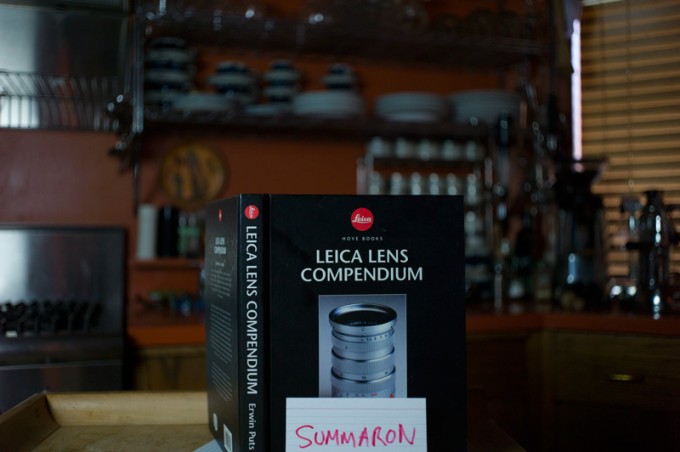
I have included full frames reduced to 800 pixels wide for the comparison of the bokeh rendered by each of the lenses. I find little value in comparing 100% crops of the out of focus areas. Obviously the lenses that have the largest maximum aperture create the shallowest depth of field. These lenses throw the background out of focus most, usually giving the smoothest rendering and a very three-dimensional look to the images. The Leica FLE is an excellent example of this shallow depth of field.
In the time when film was dominant, most photographers were limited to relatively slow color films (ASA 25 or 64) and fairly slow black and white films (ASA 100 or 400). Consequently, large aperture lenses were necessary for most indoor subjects. There simply wasn’t a choice – you needed a fast lens to get any photo at all.
With the advent of today’s digital cameras, it’s common to shoot at ISO 640, 1250 or even higher. Lens speed isn’t critical to getting the shot, it’s now more of a creative choice. Photographers who love the look of a shallow depth of field reach for the Summilux (f/1.4) or even Noctilux (f/1 or f/0.95) lenses to give their photos that “look”. Many choose these lenses in bright light situations, mounting neutral density (ND) filters on the lenses to reduce incoming light by as much as 9 f-stops or more depending on the available light. The Leica M8 has a maximum shutter speed of 1/8000 second while the M9 has a maximum of 1/4000 second, requiring one slower stop of light for wide open shooting.
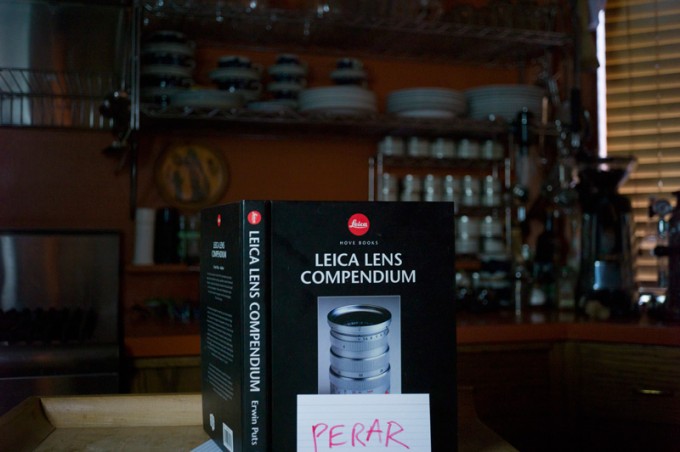
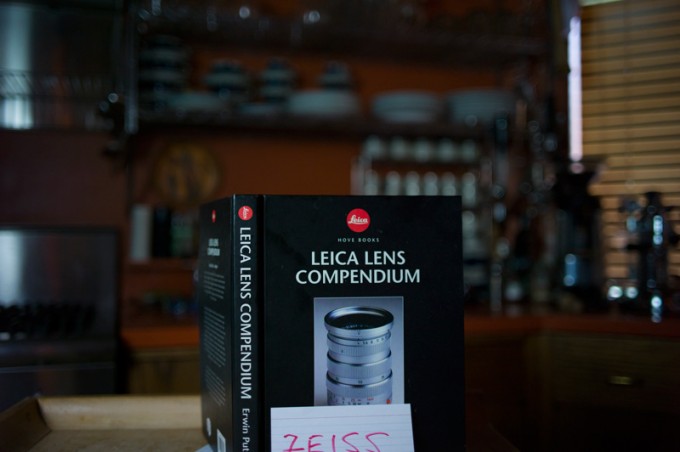
Rather than trying to rank order the bokeh test shots, I present them here for you to study and draw your own conclusions about what type of rendering is most pleasing to your eye. Naturally, the Perar lens with its maximum aperture of f/3.5 will have the most in-focus background. There are small variations in the lighting between shots, but the overall look of the photos are easy to compare.
Perar
–
Zeiss
–
Leica Lux FLE
–
Summicron
–
Skopar
–
Summaron
Bokeh is an image attribute that can also be achieved in software. Alien Skin makes a Photoshop plug-in product called Bokeh 2.0 that does an admirable job of creating bokeh in images after they were shot, even going so far as to model the attributes of several well known fast lenses, although not Leica lenses. Photoshop 6 (now in beta test) has an advanced blur filter that also mimics the behavior of different lenses to give a natural-looking bokeh effect.
Some photographers eagerly use many tools to give them the look they desire in their photographs while others see the digital manipulation of images as something to be avoided, something that diminishes from the photographic experience. My personal view is that except for photojournalism where truth is paramount, creative control is in the hands of the photographer and creative tools have always been at our disposal, in the analog and digital worlds. The development of more advanced and even easier digital tools is not taking us further away from “real” photographs, it is making it possible for photographers to show us how they “saw” a scene from their own perspective.
Finally, it’s important to consider several factors when choosing from among these lenses. The size and weight of lenses can be important, so clearly the Perar, Summaron and Skopar are the leaders here. If size and weight are not an issue, the Biogon, FLE and Cron are the image quality leaders. One of these lenses is remarkably heavier than the others – the Summicron ASPH Chrome. It’s a solid-brass lens that feels extremely dense when you lift it to mount on the camera. All of these 35mm rangefinder lenses are small and light in comparison to 35mm SLR lenses from Canon or Nikon.
All of these lenses are easy to handle, except the Skopar due to its short focus throw. Even the tiny Perar with its pin-shaped focusing tab is easy to focus with just a little practice. As I pointed out in part one of this test, prices vary widely among this group of lenses, starting at just over $300 for the Color Skopar to more than $6000 for the Leica Summilux ASPH.
My advice is to first decide what type of look you like most in your photos, then see what choices there are at the prices you’re willing to spend for a 35mm lens in your kit. Some photographers like to have two lens “kits” to choose from – a “small-and-light kit” for maximum portability and a “fast kit” for low-light situations. At the 35mm focal length there are plenty of good choices for the rangefinder shooter.
Brad Husick

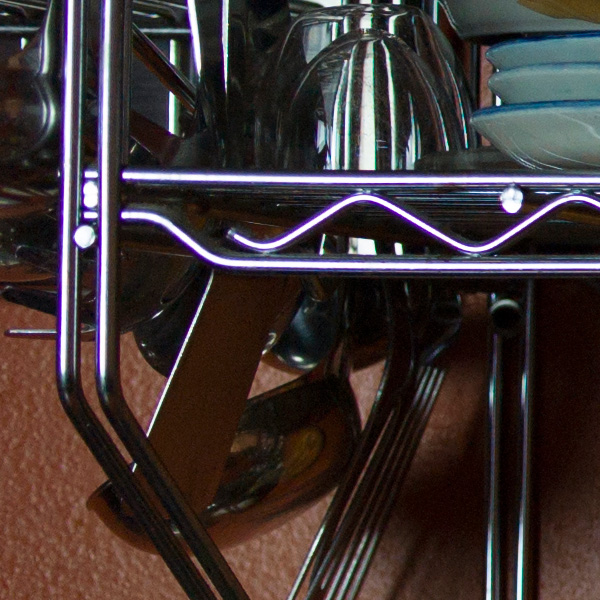

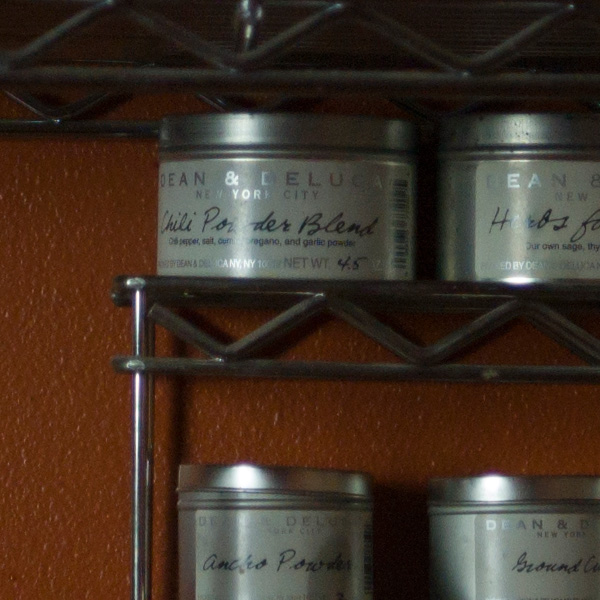

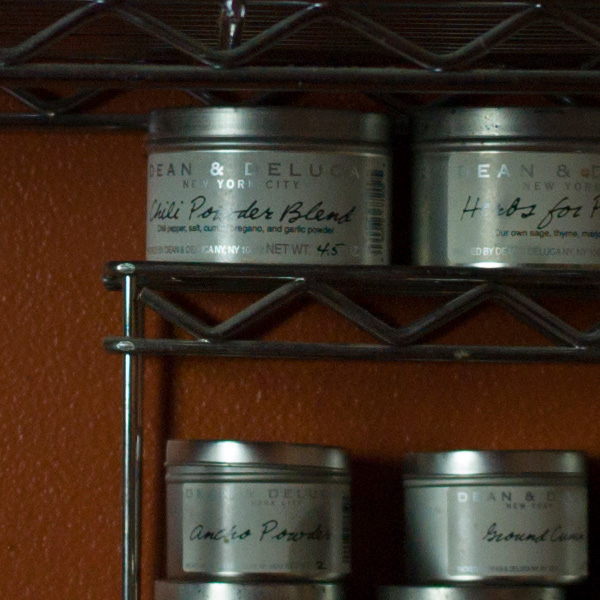

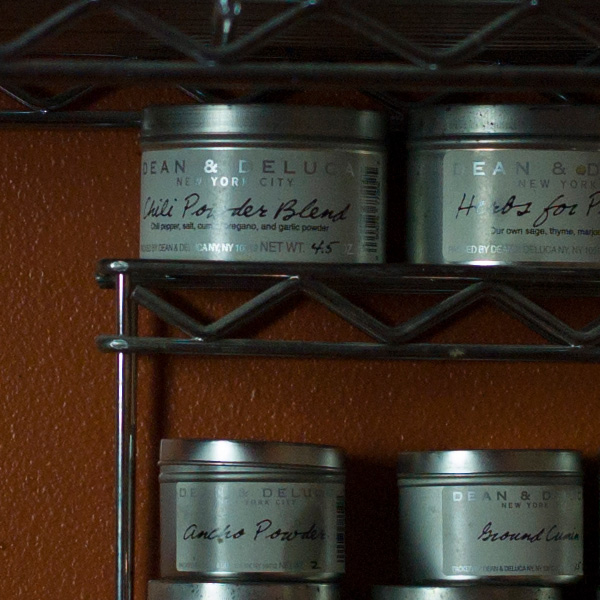

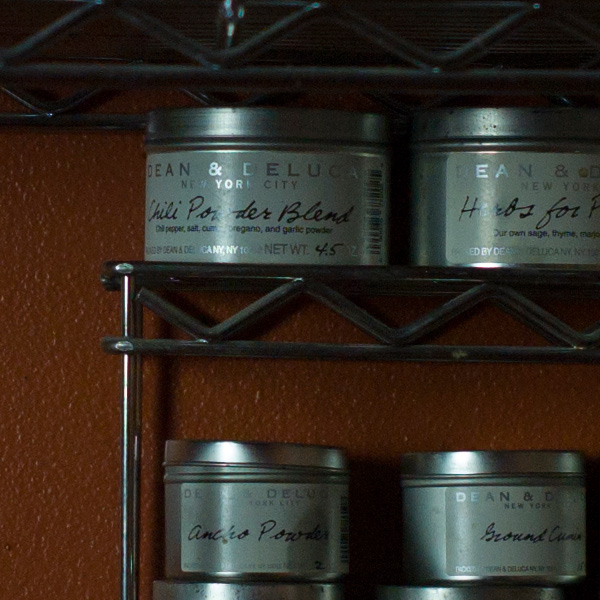

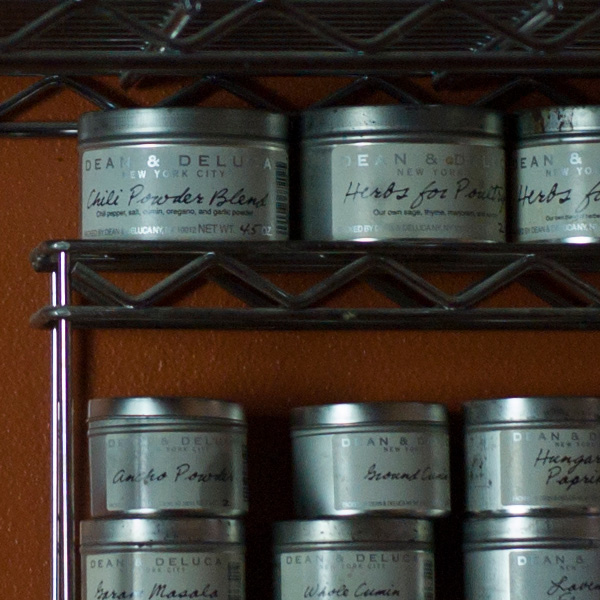

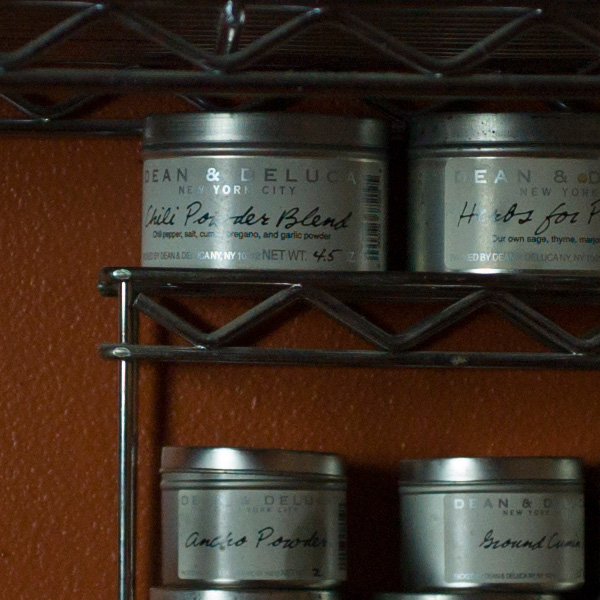



And the last but not the least: Shoot all frames from the same position of the tripod. On the center crop note the position two vertical chrome bars of the shelf: In all pictures they look the same except the one on the Skopar (moved considerably). Also check the sturdiness of your tripod and use either cable release or self timer, as the corner picture of the Summicron “Simply Organic” shows double-imaging, meaning camera shake.
Thanks guys. I had to reshoot the Skopar the next day since it wouldn’t give me proper focus according to the rangefinder – I see this as a big drawback for this lens, and I won’t be buying a Skopar. All of these were shot on a big steady tripod with the self-timer.
Again, this site and this test are not meant to be laboratory condition tests – they’re more like the real world of shooting photos. There are plenty of other sites for brick wall tests.
Hint: On the corner crops there is a print on top-middle “EXTRA VIRGIN”.. This is your plane of focus. Those lenses rendering this print as sharp have rather flat field of focus, i.e. negligible field curvature. Those rendering it as not sharp have rather large field curvature.
While placing your lens perpendicular to the wall, measure the distance from each corner of the field of view to the lens, so move your tripod until these four distances become equal. To reveal the field curvatures you can stack focus (four or five steps suffice) to pick up later the optimum ones as well as have an idea about the focus plane curvature of each lens.
I am astonished with the test results between the Summicron Asph. and Summaron corner performance. I have tested two samples of Summaron 2.8 against the Summicron Asph. on a Sony Nex-5N (cropped sensor); close but also at remote distances (50 to infinity). Summaron’s corners @f4-5.6 ( in spite of the smaller sensor ) were about the same as the Summicron Asp. @f2.8.
I suspect that the “Simply Organic” jar could be not in the same plane as the Chili Powder Blend can as far as the focus plane of the lens is concerned… I might suggest you to repeat the test with the center and corner “target” articles touching the back wall and position the lens axis at right angle to the wall. Even a 3″ to 4″ off-plane positioning could affect the outcomes tremendously.
By testing through the process I tried to describe above, you may also have a better idea about the field curvature of each lens.
With the Sony you only use the 50mm crop area and not the corners of the 35mm you get using the M9 or any film rangefinder!
Thank you, Michael! I have a BIG multi-part shootout in the works for another focal length… stay tuned to this channel!
Fascinating, Brad. Thanks for the part two. I’m finding it really influencing my thinking re lens choice. Great stuff. More please!
Hi, Brad.
An interesting series of images and one that, for me, at least, highlights the potential problem of comparing lenses on an M9. I don’t own one, simply can’t afford it, but the issue is the same for the M9 as it is with my M3 and M6 – range finder coupling, and not being able to check focus in real time. And this is something you hinted at when trying to achieve focus with the Skopar.
I used to do the same, non-technical, tests as you with my film cameras and invariably found that accurate focus at shortish distances wide open, spot on focus was never guaranteed even though I had very carefully set the range finder. However, it has to be said that this never really impacted on my photography for I never shot wide open at short distances, and anyway, stopping the lenses down, masked any focus errors and improved optical performance.
With the image being the “focus” of your comparisons, that is how a lens performs, using a digital body on which accurate lens focus can be set, such as Nex, would, I suggest, be better suited as it can “correct” for any focus inconsistencies between lens samples.
On the subject of bokeh, this is not something I am fixated on, but I found that the FLE’s rendition of the slats to be ugly, despite in other areas this lens was the supreme performer. And what a surprise – the 1959 Summaron!
Hmmm… My Summicron ASPH F2 35mm ( Black, 6 Weeks old) is definitely better, esp in corners. However, just had a chance to play with the FLE Lux this weekend and that is a no brainer if 35mm is your main lens of choice (I’m more of an 50mm shooter, but planning to have the 21 SE, 35 Cron, 50 Lux and 90Srit Kit)
B
I may be off the mark here, but it seems that, since the focus point is almost at the distance of the back wall, I shouldn’t expect the jar in the corner to be in focus because it is closer. If anything, it shows that the lenses with the jar in focus are showing field curvature. Not a big deal, they’re all good lenses, but the conclusion seems skewed.
Joe, your comment is valid. This is not a “brick wall” test – I find those mildly interesting. What I am trying to show here is more of a real world scenario shooting three dimensional subjects. I did keep the variables constant so you can make comparisons between the lenses.
Wow!
Pleased to have a Summaron….
Thanks for the comparisons Brad. Was the Skopar “edge” sample from a different part of the photo? It looks different.
Good eyes! It’s the same part of the photo, but the objects were slightly rearranged by the time I re-shot the scene. I needed to re-shoot the Skopar because simply using the rangefinder didn’t give me a sharp photo – I needed to focus-bracket the shot so I went back the next day.
Thanks Brad.
Looks like performance to price ratio, the Zeiss is still the king. To me, from a bokeh standpoint, the Biogon is more pleasing to the eye than the FLE. Although the Skopar seemed to have the smoothest bokeh.
Would have been cool to see how the Biogon-C, Nokton 35/1.4, and Nokton 35/1.2 fared in the shootout. We’ll leave that to Part 3!
I just purchased the Voigtlander Nokton F/1.2 version II, and have been very happy with this lens and the shallow DOF and unique rendering it can create are incredible. With this, I have no need to spend another $4k for a summilux, and it’s also the fastest 35mm available. It would have been great to see a comparison of this as well.
I also recently acquired this lens, and after 2 weeks of shooting in Japan, it is now my go-to lens. Bokeh is great, and the image quality wide open is also very, very good. I am usually a cost-no-object type of guy when it comes to quality (but not brand name), but I really don’t see enough difference between the CV and Leica lenses to justify the (enormous) extra cost.
The only complaint I have of this lens is that it is a bit of a brick compared to every other lens in my bag. Of course that also means I can abuse the lens and it will still work great. So not really a problem. And for comparison, I saw an oriole in my back yard yesterday and ran to grab my Canon 50D/70-200mm f/2.8 combo, and the combined weight was shocking after a month of using a NEX-7 and M lenses. There is simply no going back!